
[ad_1]
So I believe I’m secure to confess now that after I took on this restoration, it was with some trepidation. Mini Cutes are scarce issues and extremely expensive (I perceive that one lately modified fingers in Europe for the perfect a part of €6,000), so while I’ve no plans to maneuver this on any time quickly, I at all times knew that any funding into the restoration wasn’t finally going to be cash down the drain. (Arcade collectors are at all times trying to justify purchases, so I used to be glad to have the ability to do this right here!).
But for those who’re on this passion “for the money”, you then’re in all probability not in the correct passion – my main motivator right here was to really personal a Mini Cute, slightly than trying to flip a revenue of some form.
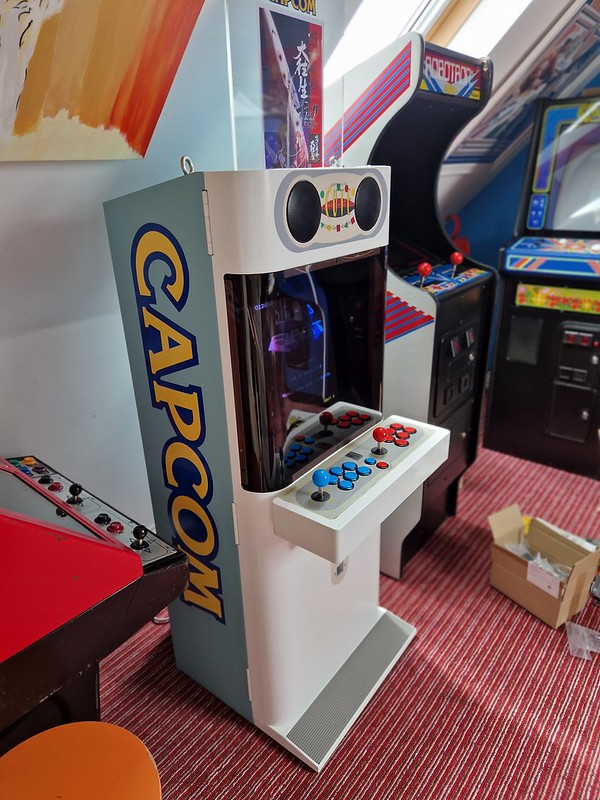
As a chunk of Japanese industrial design, there’s no denying its appears when positioned in an arcade surroundings. Not to say the advantages of proudly owning a lovely cupboard with such a small kind issue, coupled with the flexibility to play a mess of video games – what you will have for my part is a really fascinating arcade cupboard that can match properly into any current assortment.
So by means of recap, you possibly can take a look at the primary two elements of this restoration right here and right here for those who missed the earlier updates.
I’d made good progress up thus far – the unique horrific paint job had been stripped, harm to the cupboard had been repaired, the respray was full, new art work was utilized and issues have been coming collectively properly.
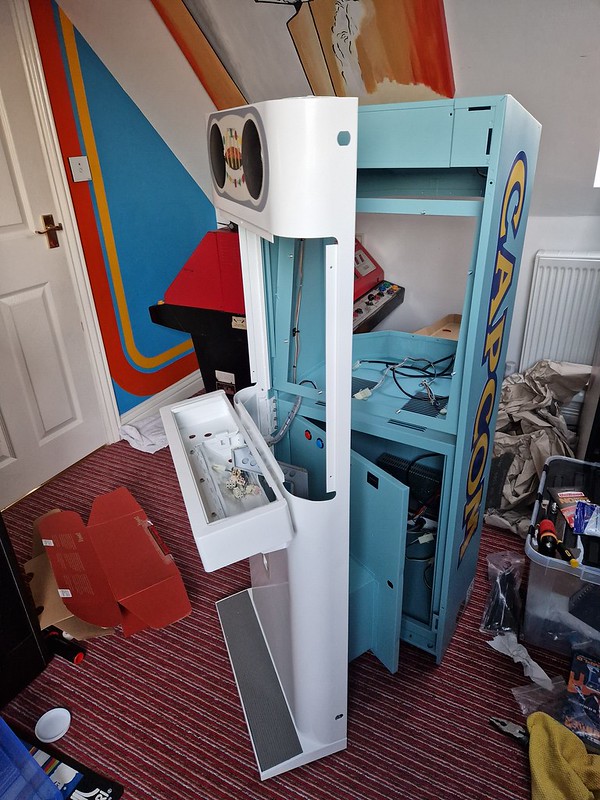
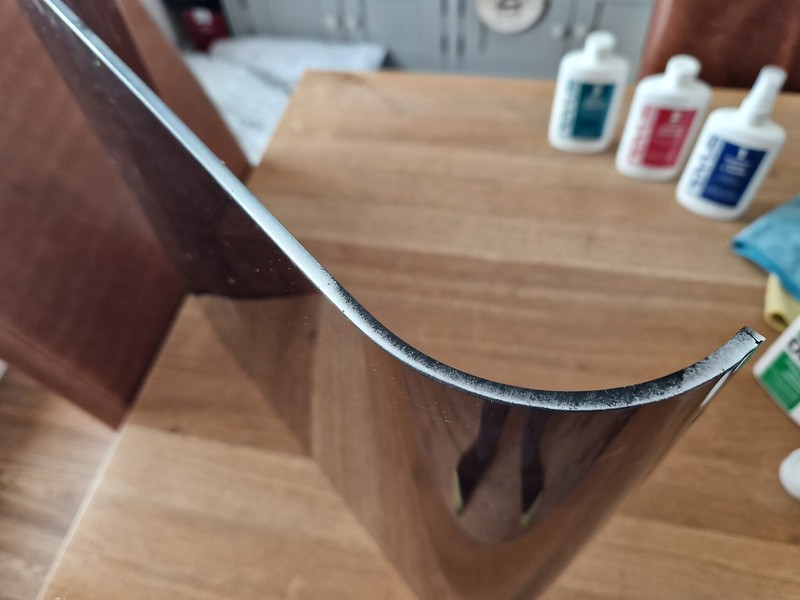
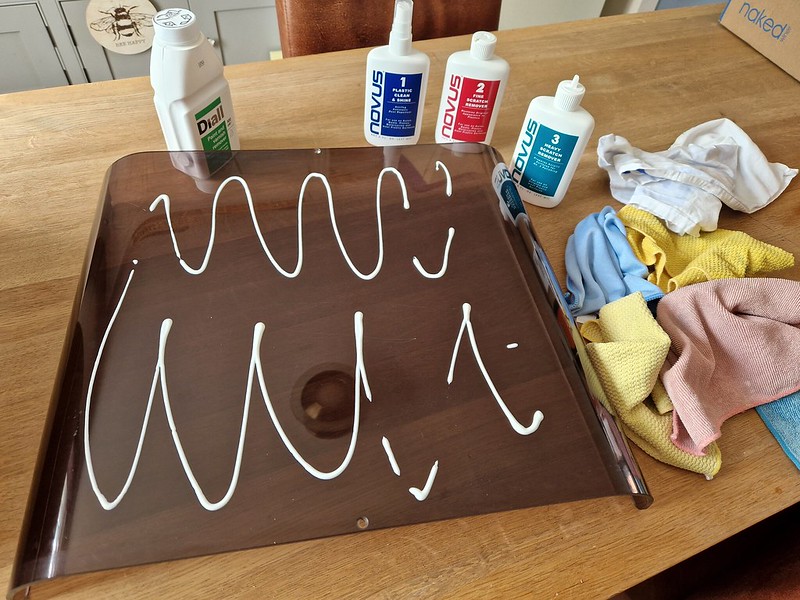
So it was time to check out the plexi. This is a smoked piece of acrylic that sits in entrance of the monitor. In earlier restorations, I’d usually substitute with a brand new sheet ordered from Trent Plastics right here within the UK. The subject right here is its form. Replacements are tough to come back by and though not inconceivable to breed, getting that organised and executed would probably value an arm and a leg. Luckily the plexi I had was in fairly fine condition, so I made a decision to scrub up and refresh what I had. Plus its a tick within the field for originality after all:

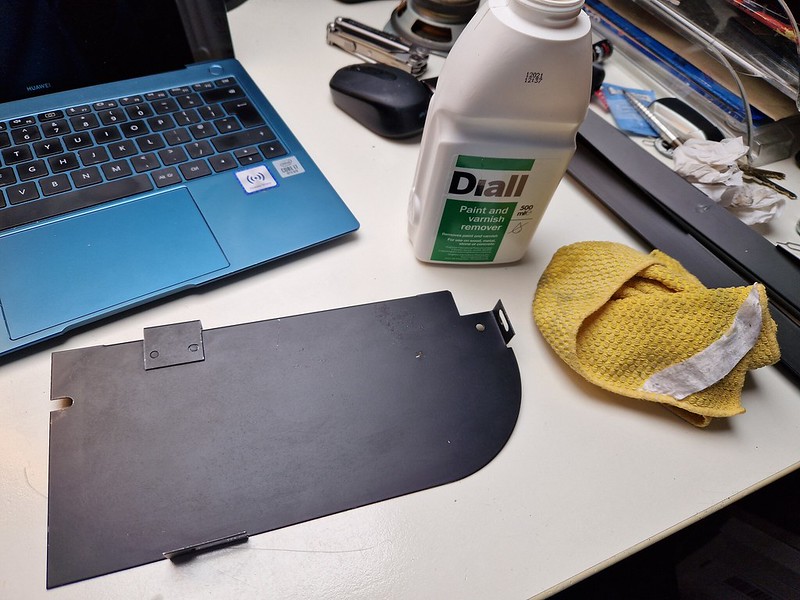
So with the plexi wanting like new once more, I labored on another elements which additionally had overspray. Again utilizing a paint stripper compound, I used cloths to take away the paint from the monitor encompass and loom. An extended job, however properly price doing.
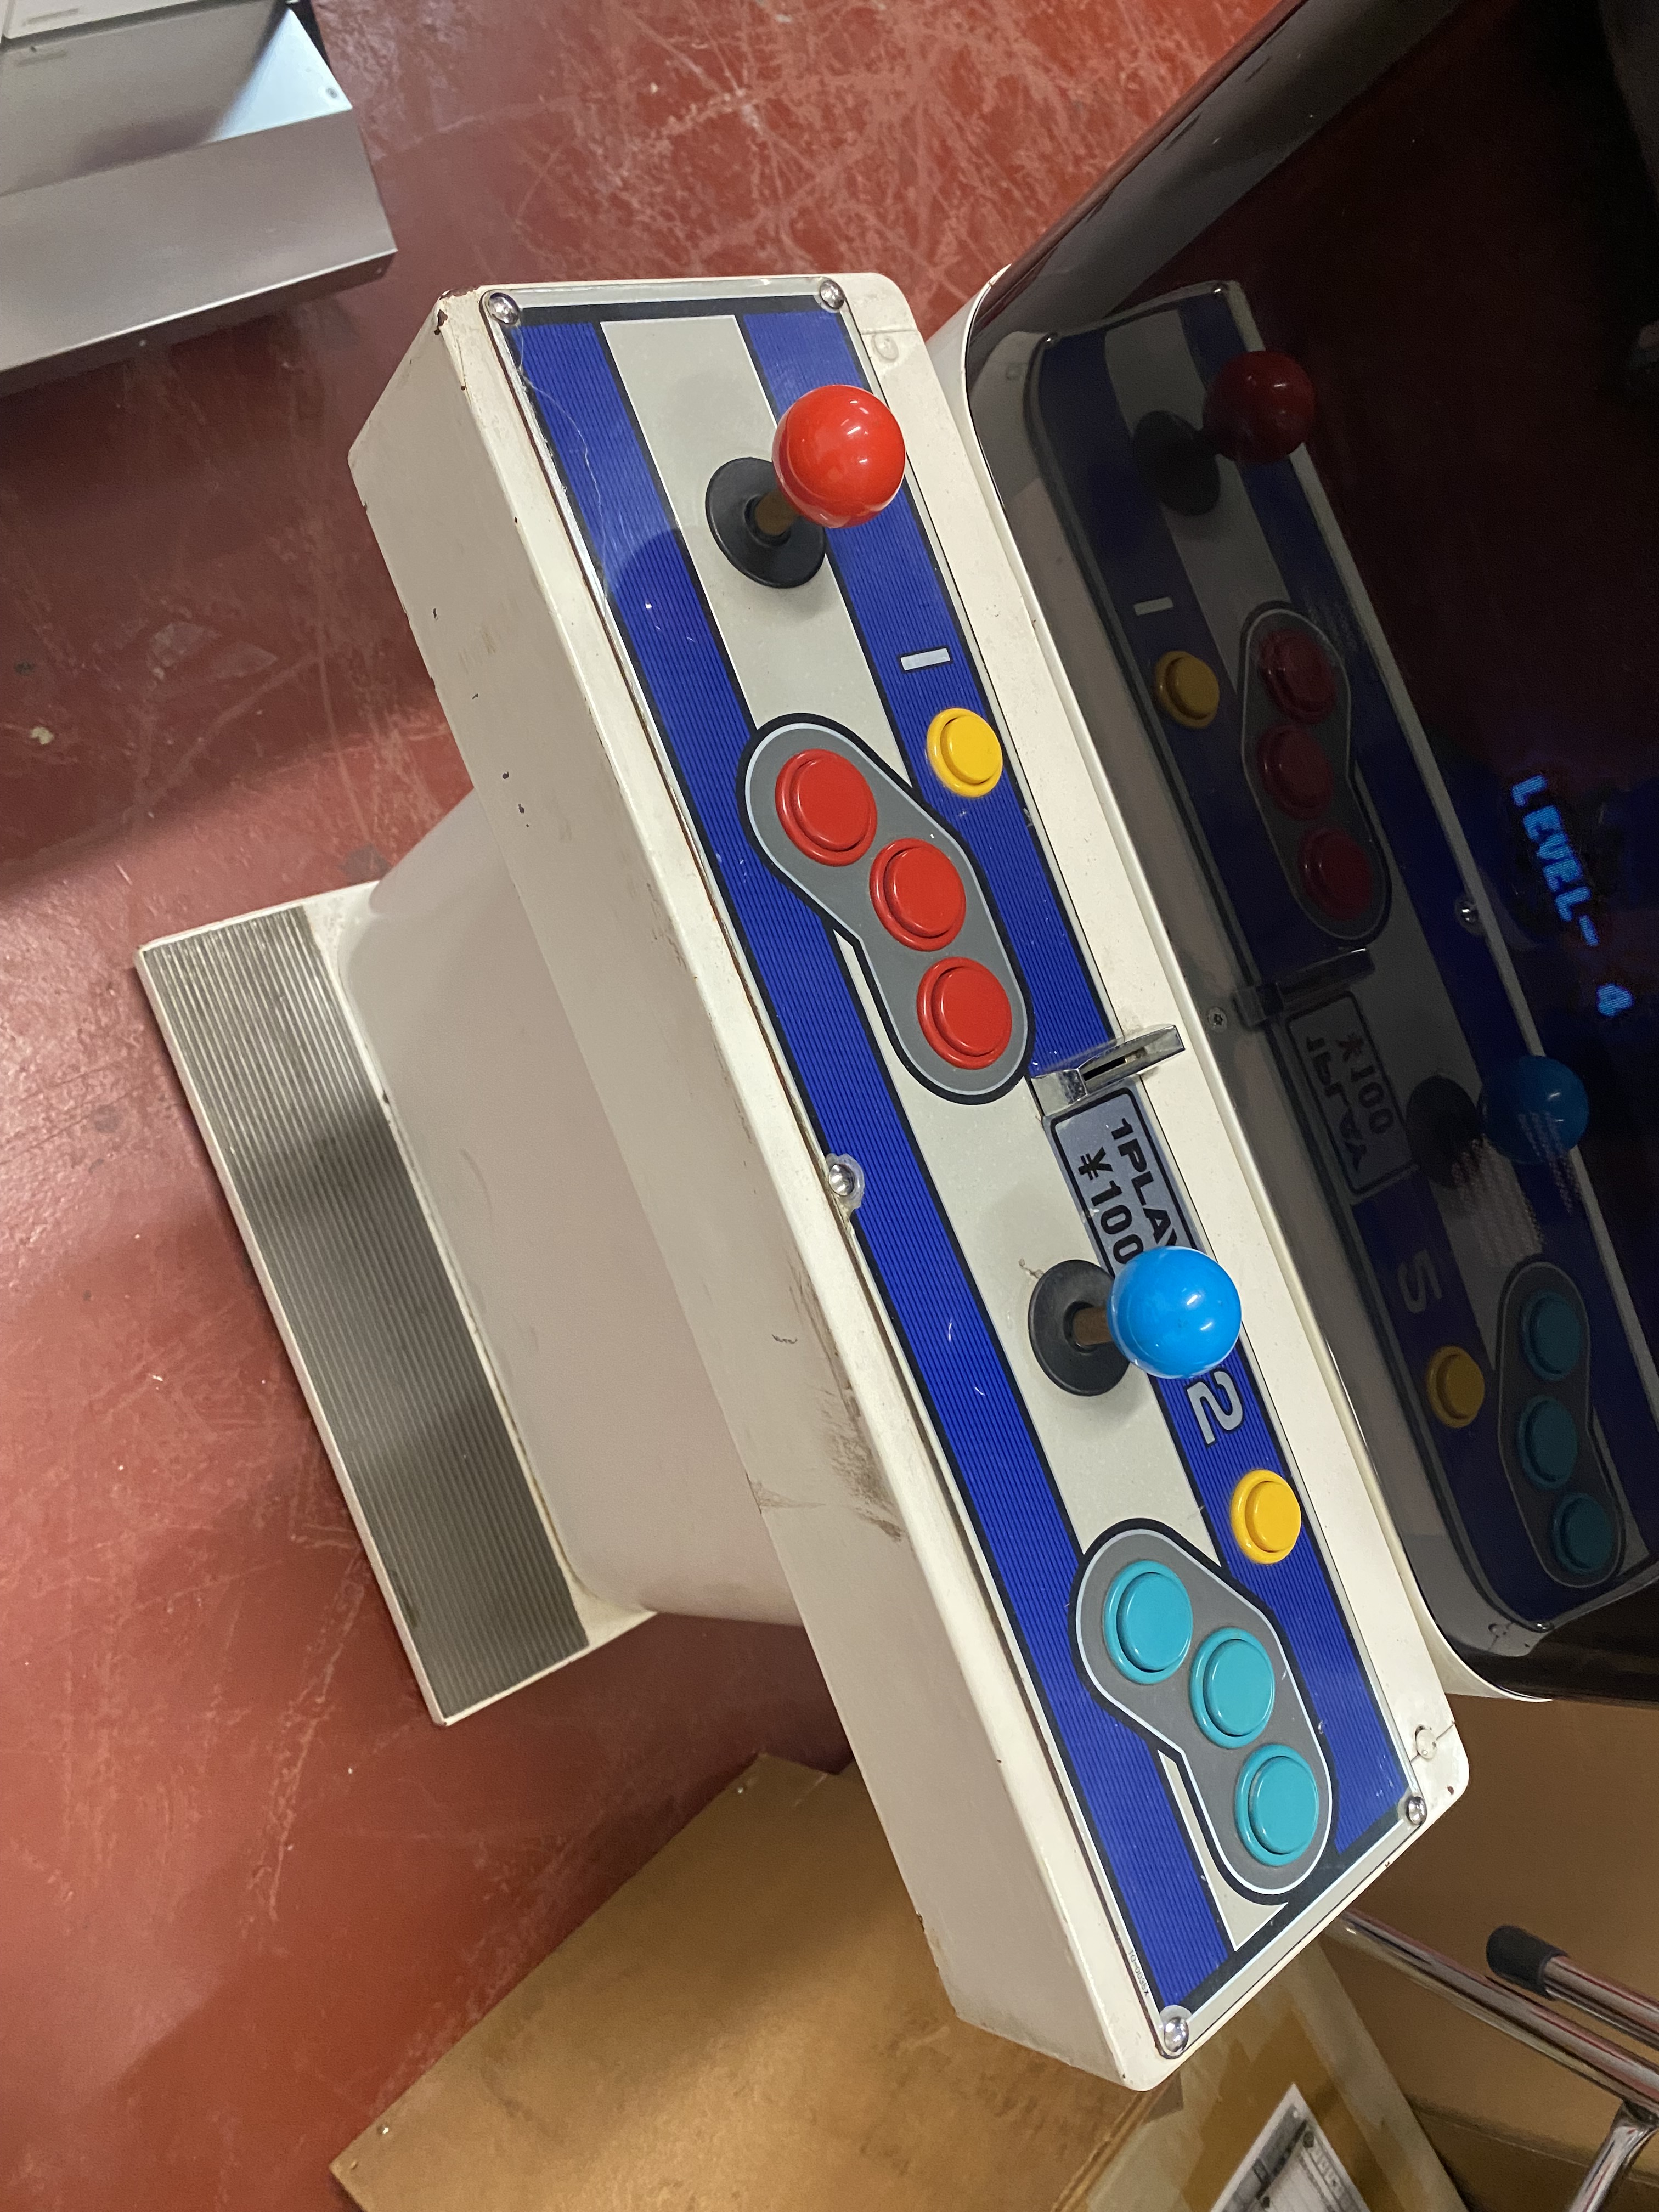
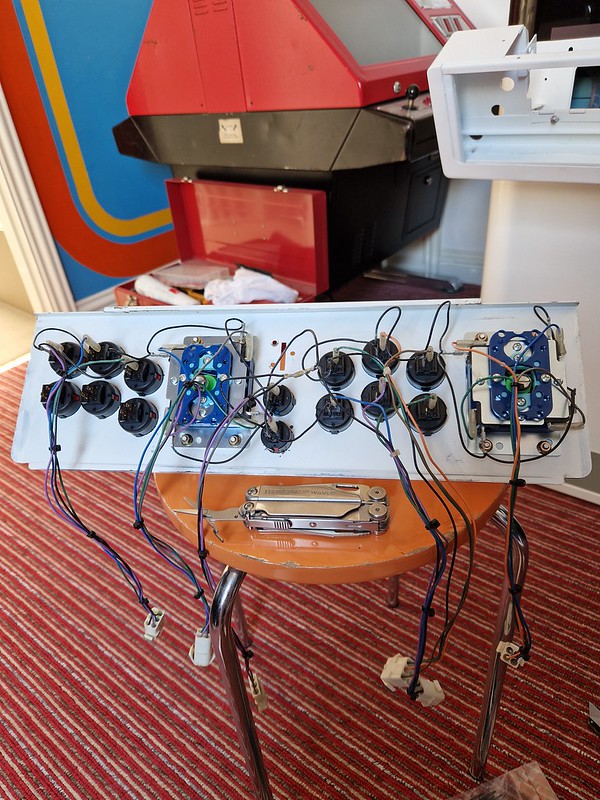
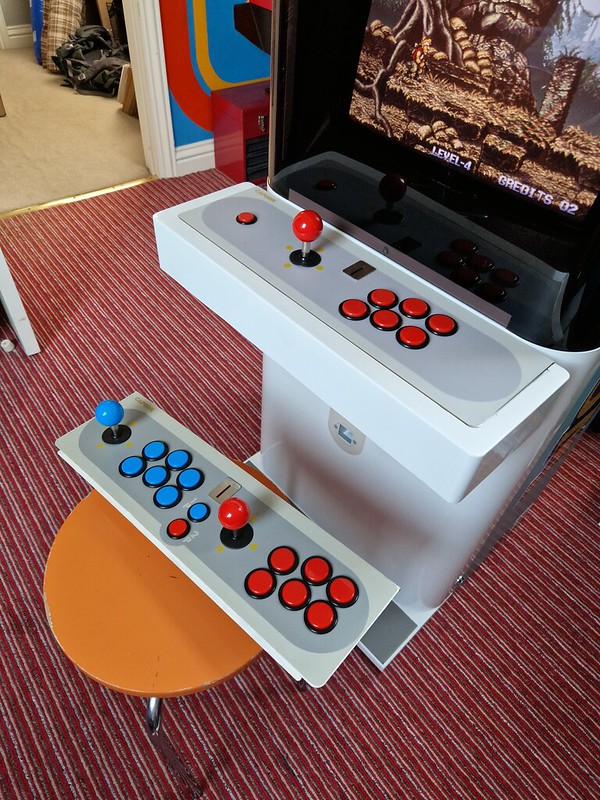
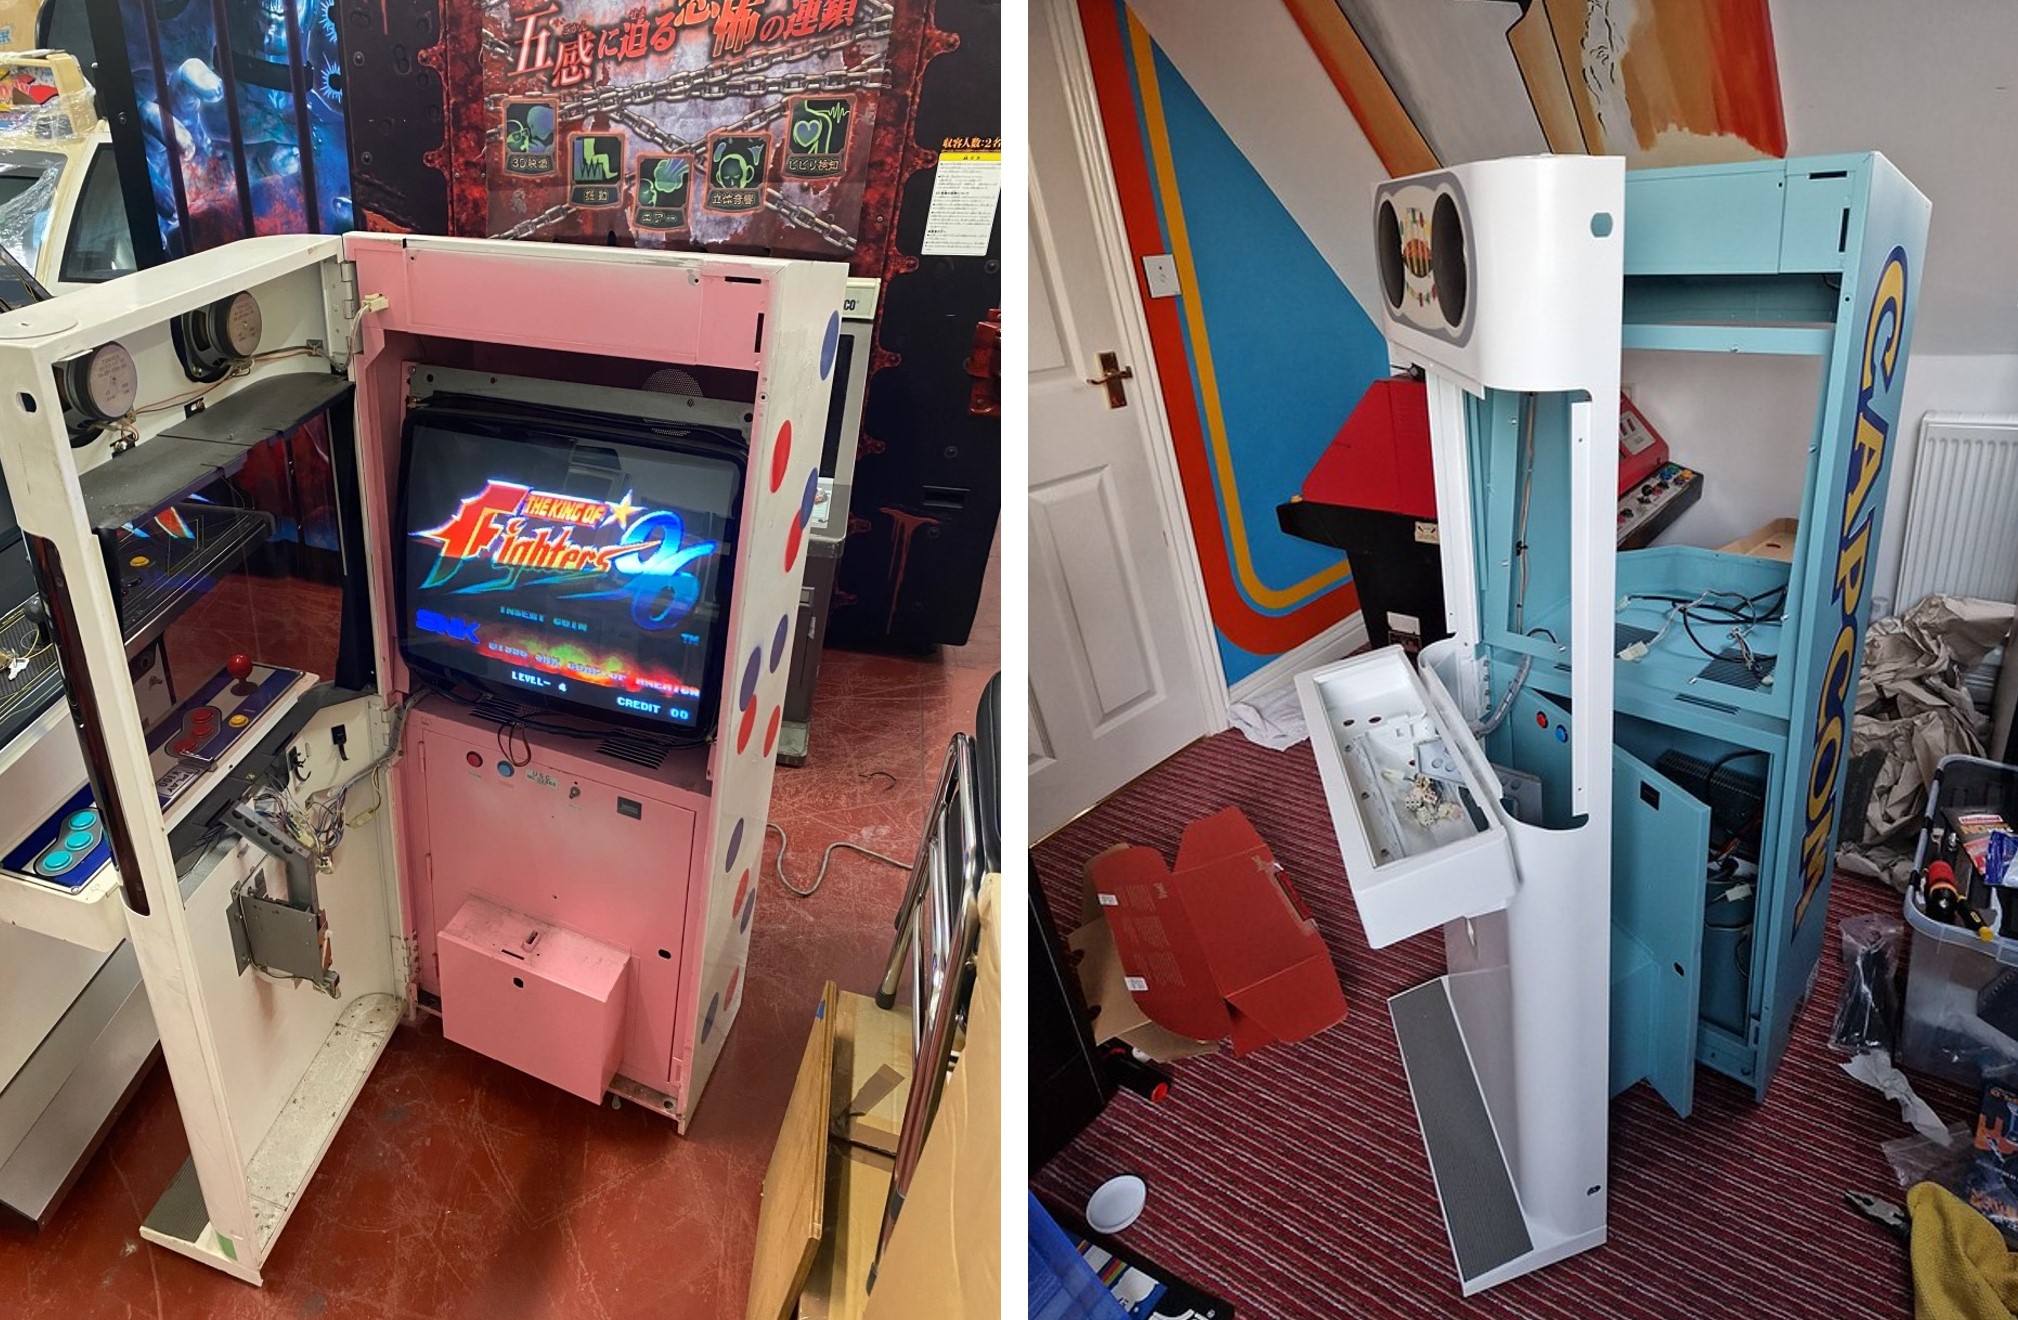
Next up was the most important subject I had with this cupboard, the management panel! You’ll recall this was lacking, and had been changed (badly) with a Sega Aero desk management panel.
Finding a substitute was laborious work. I obtained a number of leads from across the globe, however none have been fairly proper or value efficient to buy and ship. Eventually, I managed to do a commerce with a UK primarily based collector who was ready to swap an unique management panel for the chassis from the monitor that got here with the cupboard. As I used to be changing the monitor and so had no must preserve the chassis, this made sense to me. So after a drive to London, the deal was achieved – I used to be additionally capable of safe a monitor shroud – one thing else lacking from my cupboard.
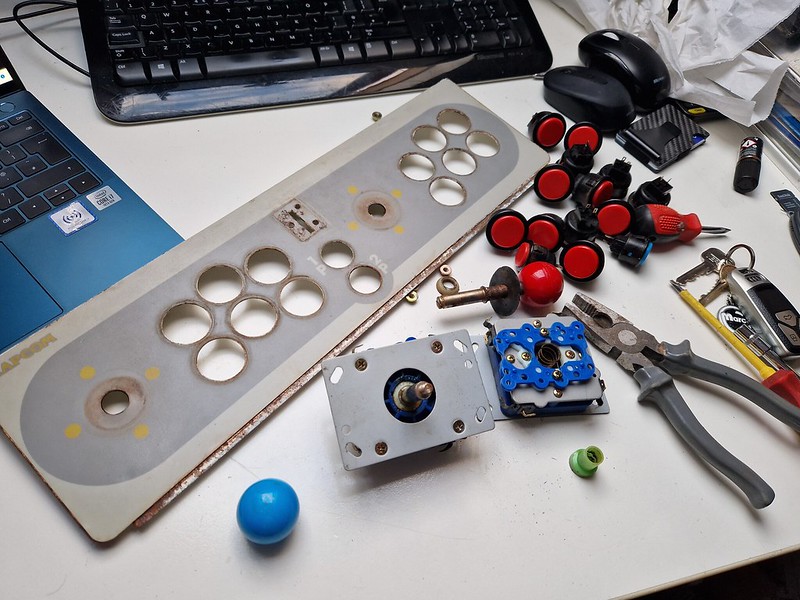
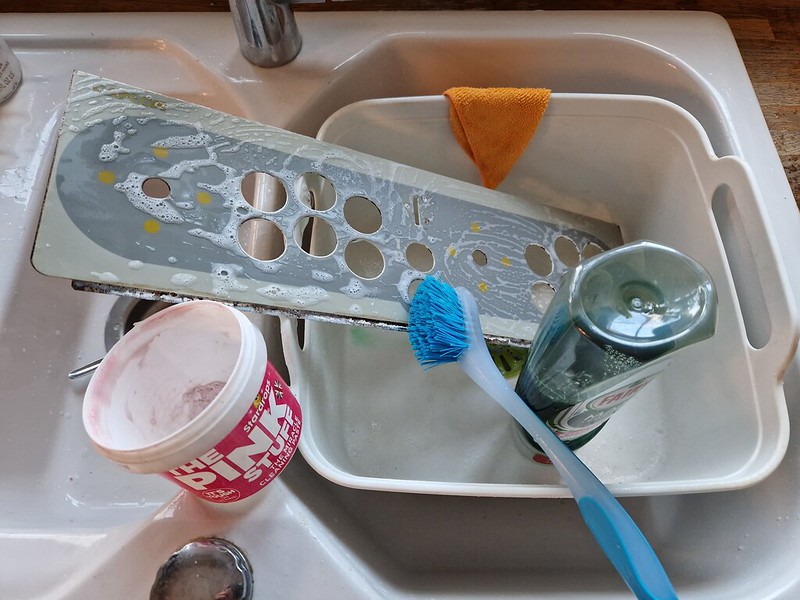

So after rigorously touching up the rust spots, I used to be capable of rebuild the {hardware} and ended up with this:

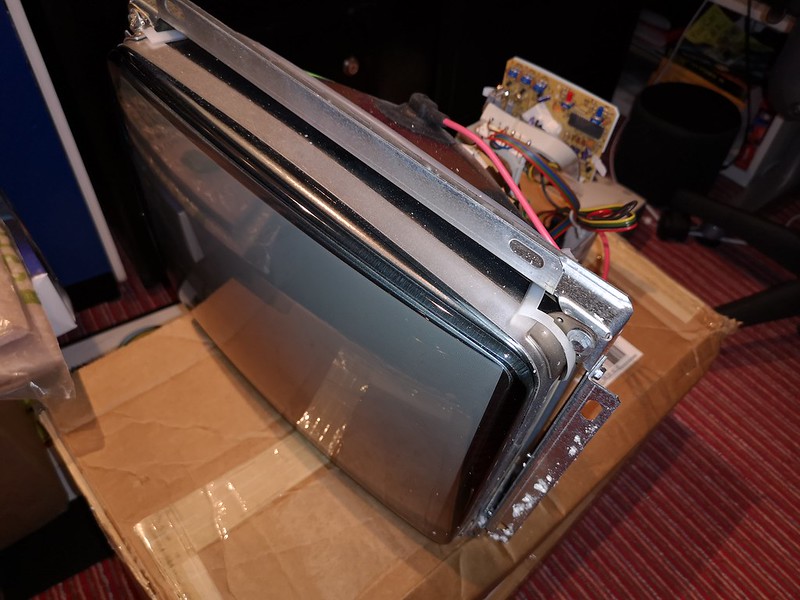
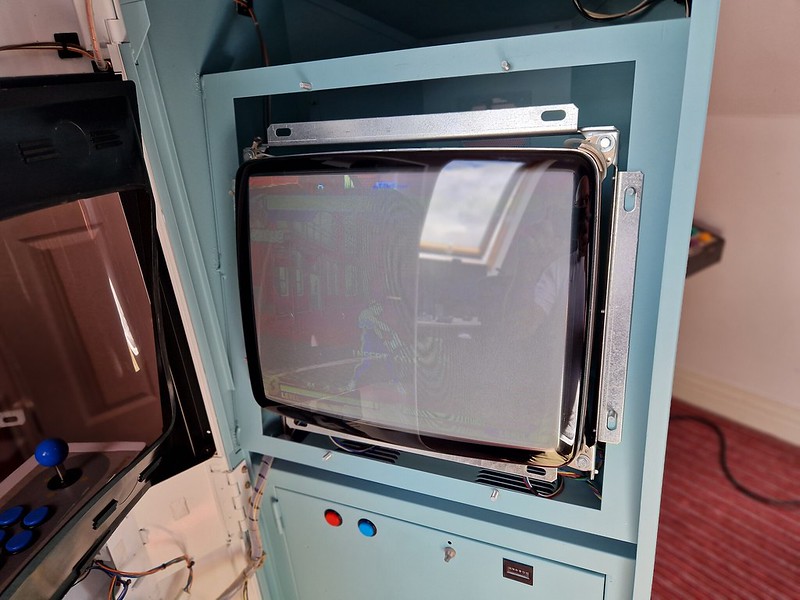
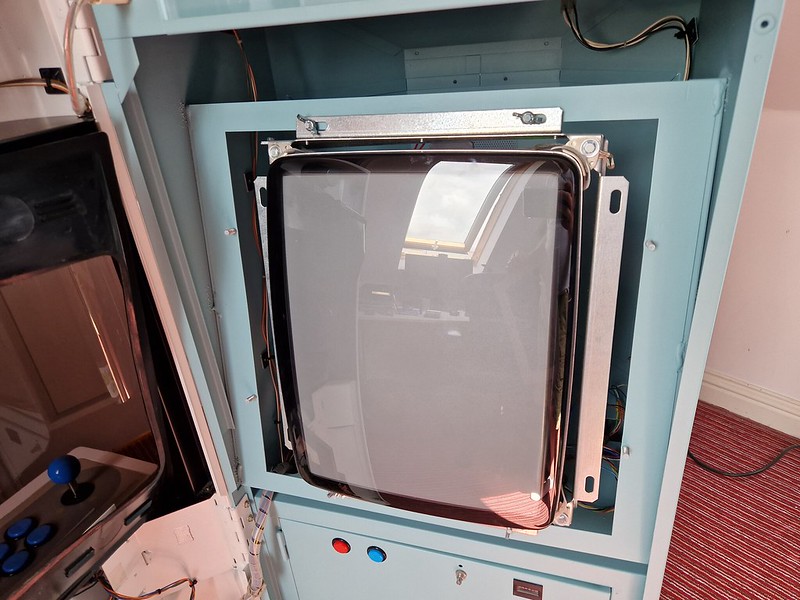
So with this final piece of the puzzle sorted, it was time to mount the monitor. Now you’ll recall that the unique monitor utilized in Mini Cutes is a really uncommon one. The 18″ display measurement could be very tough to seek out nowadays, as evidenced by the 19″ monitor that had been hacked into the cupboard after I obtained it. But I had a 17″ Hantarex mendacity round searching for a house, and determined to create new mounts contained in the Cute, so I may utilise it in my cupboard.
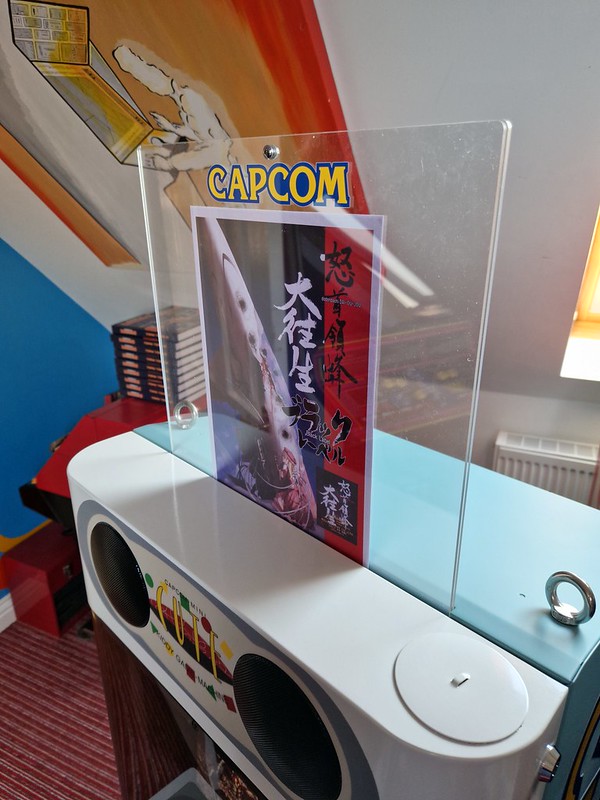
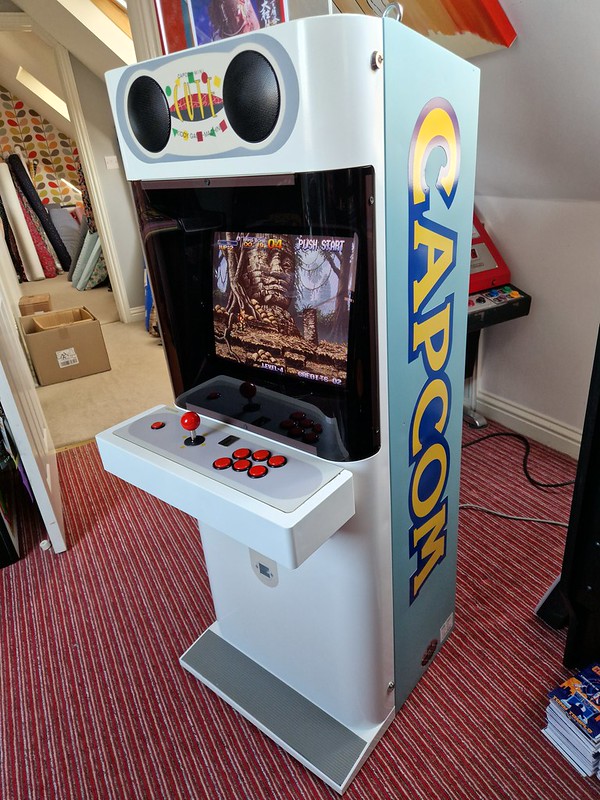
Another factor lacking from the cupboard, which I didn’t realise for a while is the plexi-marquee. This is mounted on the high of the cupboard to showcase to gamers the present recreation put in. Courtesy of Arcade ArtShop UK, I used to be capable of get a brand new substitute.
So the large query is what am I going to make use of to play video games? For now, I’ve arrange a Jamma-Pi system. This intelligent little bit of package makes use of a Raspberry Pi pc, working an emulator, with an adaptor to attach it to the Jamma loom discovered contained in the Mini Cute. The menu could be very straightforward to navigate and swapping video games will be achieved with the press of a button

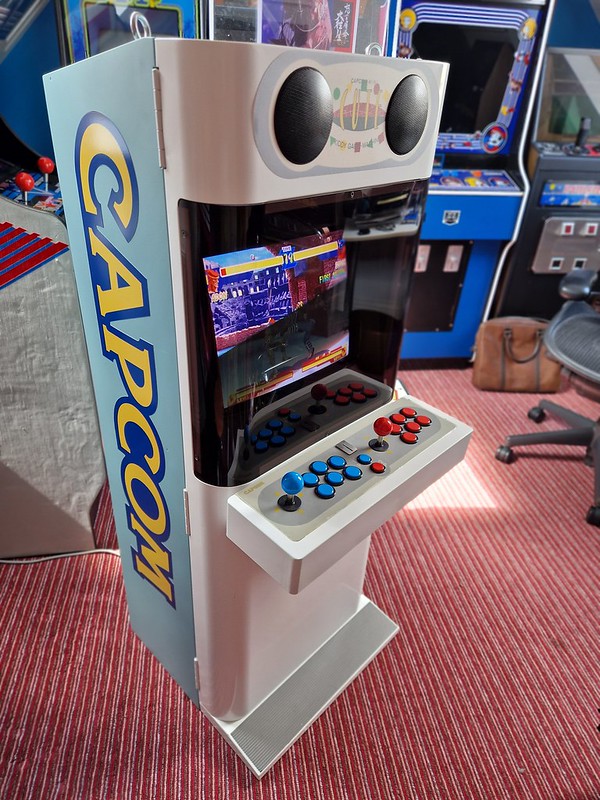
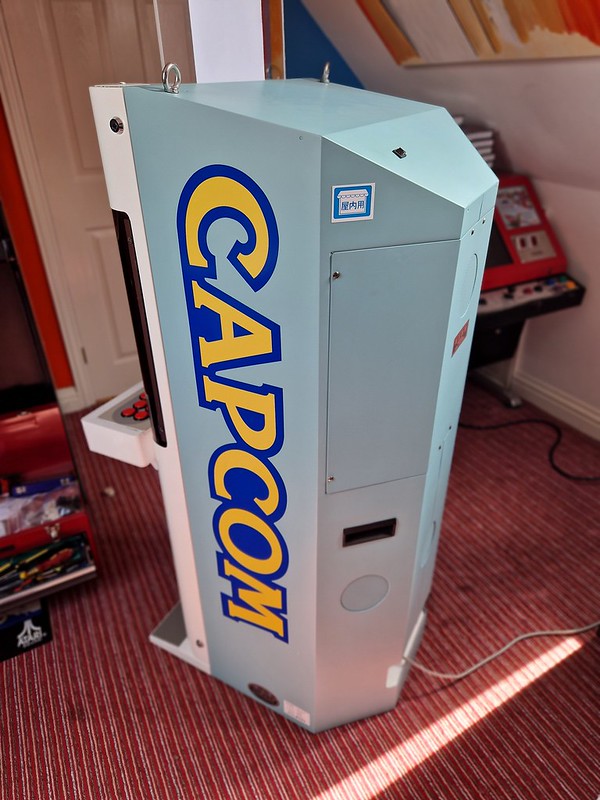
So that’s just about it! Here’s the completed product:
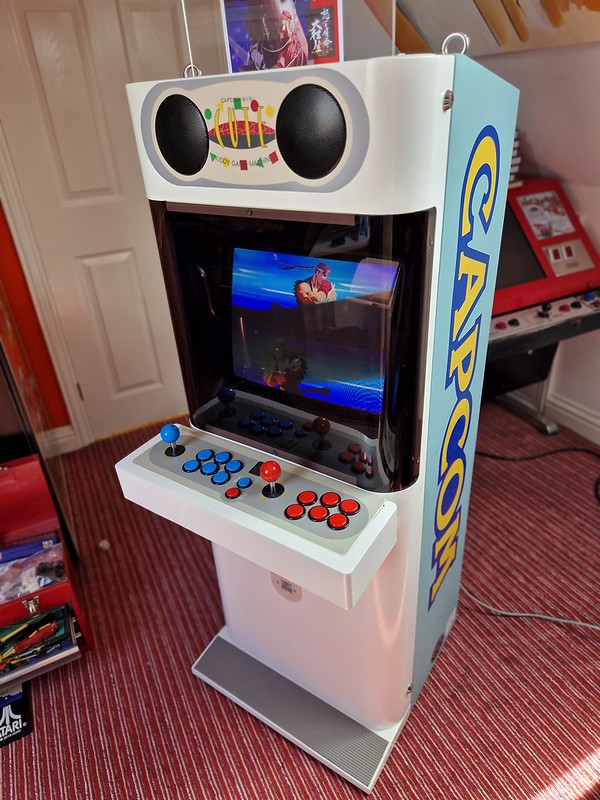
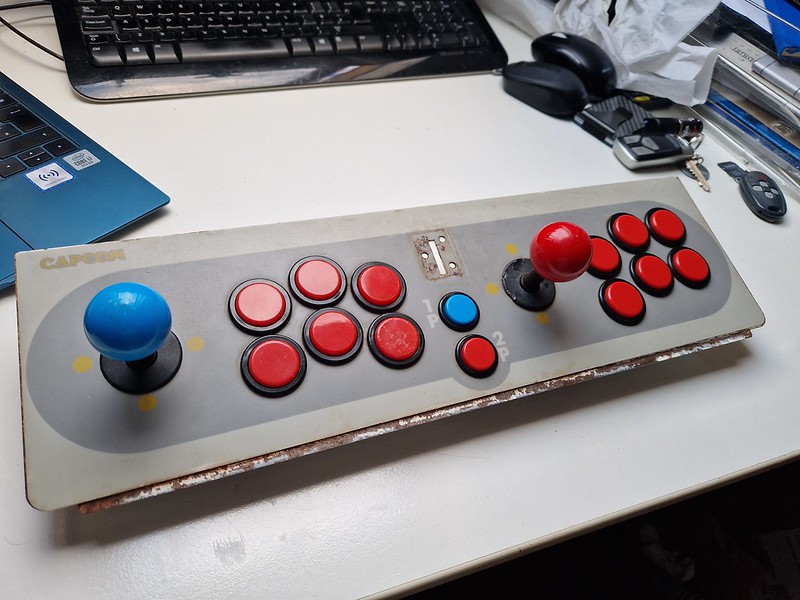
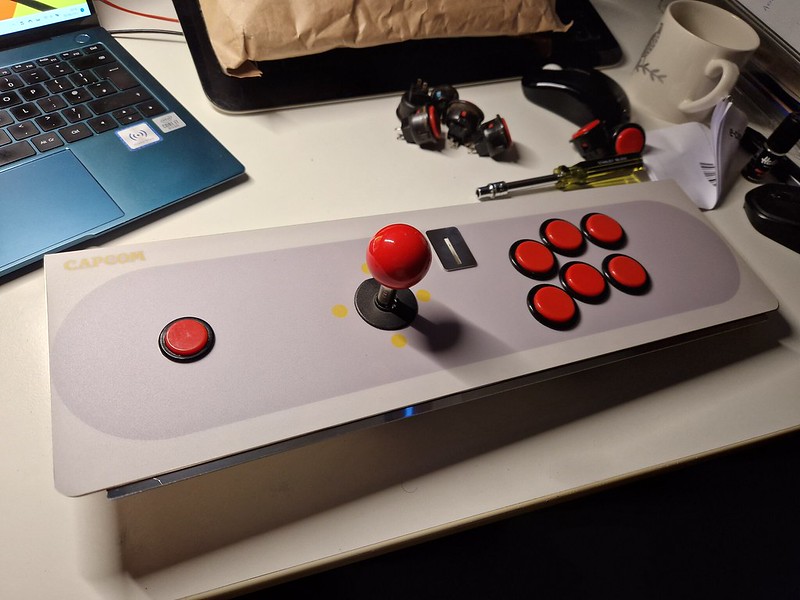
But that’s not all. I managed to discover a man primarily based in Taiwan who reproduces management panels, so requested him to make me up a 1P panel. It took a number of weeks, however the outcome was nice and excellent for this tiny cupboard.
So there you will have it. Its been an extended street to get this cupboard to the place it wanted to be. But after quite a lot of thought and planning, I’m delighted with how this Mini Cute has turned out. There’s a few minor jobs left to do. I need to substitute the switching energy provide. Its not unique, and I’m not satisfied its totally dependable, so have a Suzo Happ one on the way in which, which I’ll drop in subsequent week. I’m additionally searching for lock tangs for the management panel. Its safe with the screws holding it in place, however for authenticity’s sake, I like to finish that job (get in contact if in case you have any!). Some of the loom inside may do with tidying up too.
There’s additionally the topic of the monitor. I’m nearly swinging in direction of shopping for an unique 18″ one to make the cupboard precisely the way it ought to be (I’ve discovered one right here within the UK on the market), however it received’t be an affordable train, and would require some modifications to the monitor mounts that I painstakingly designed to be able to match the 17″ Hantarex. I’m going to have to chop the cupboard not directly to suit an unique monitor. Having mentioned that, the Hantarex does give a beautiful image and is barely barely smaller than the unique, so it isn’t troubling me in any respect when it comes to enjoying video games – it’s a niggle although. Anyway, let me know your ideas on that within the feedback under – I’m undecided.
Meantime, right here’s a reminder of how this cupboard began out, and the place it’s now!

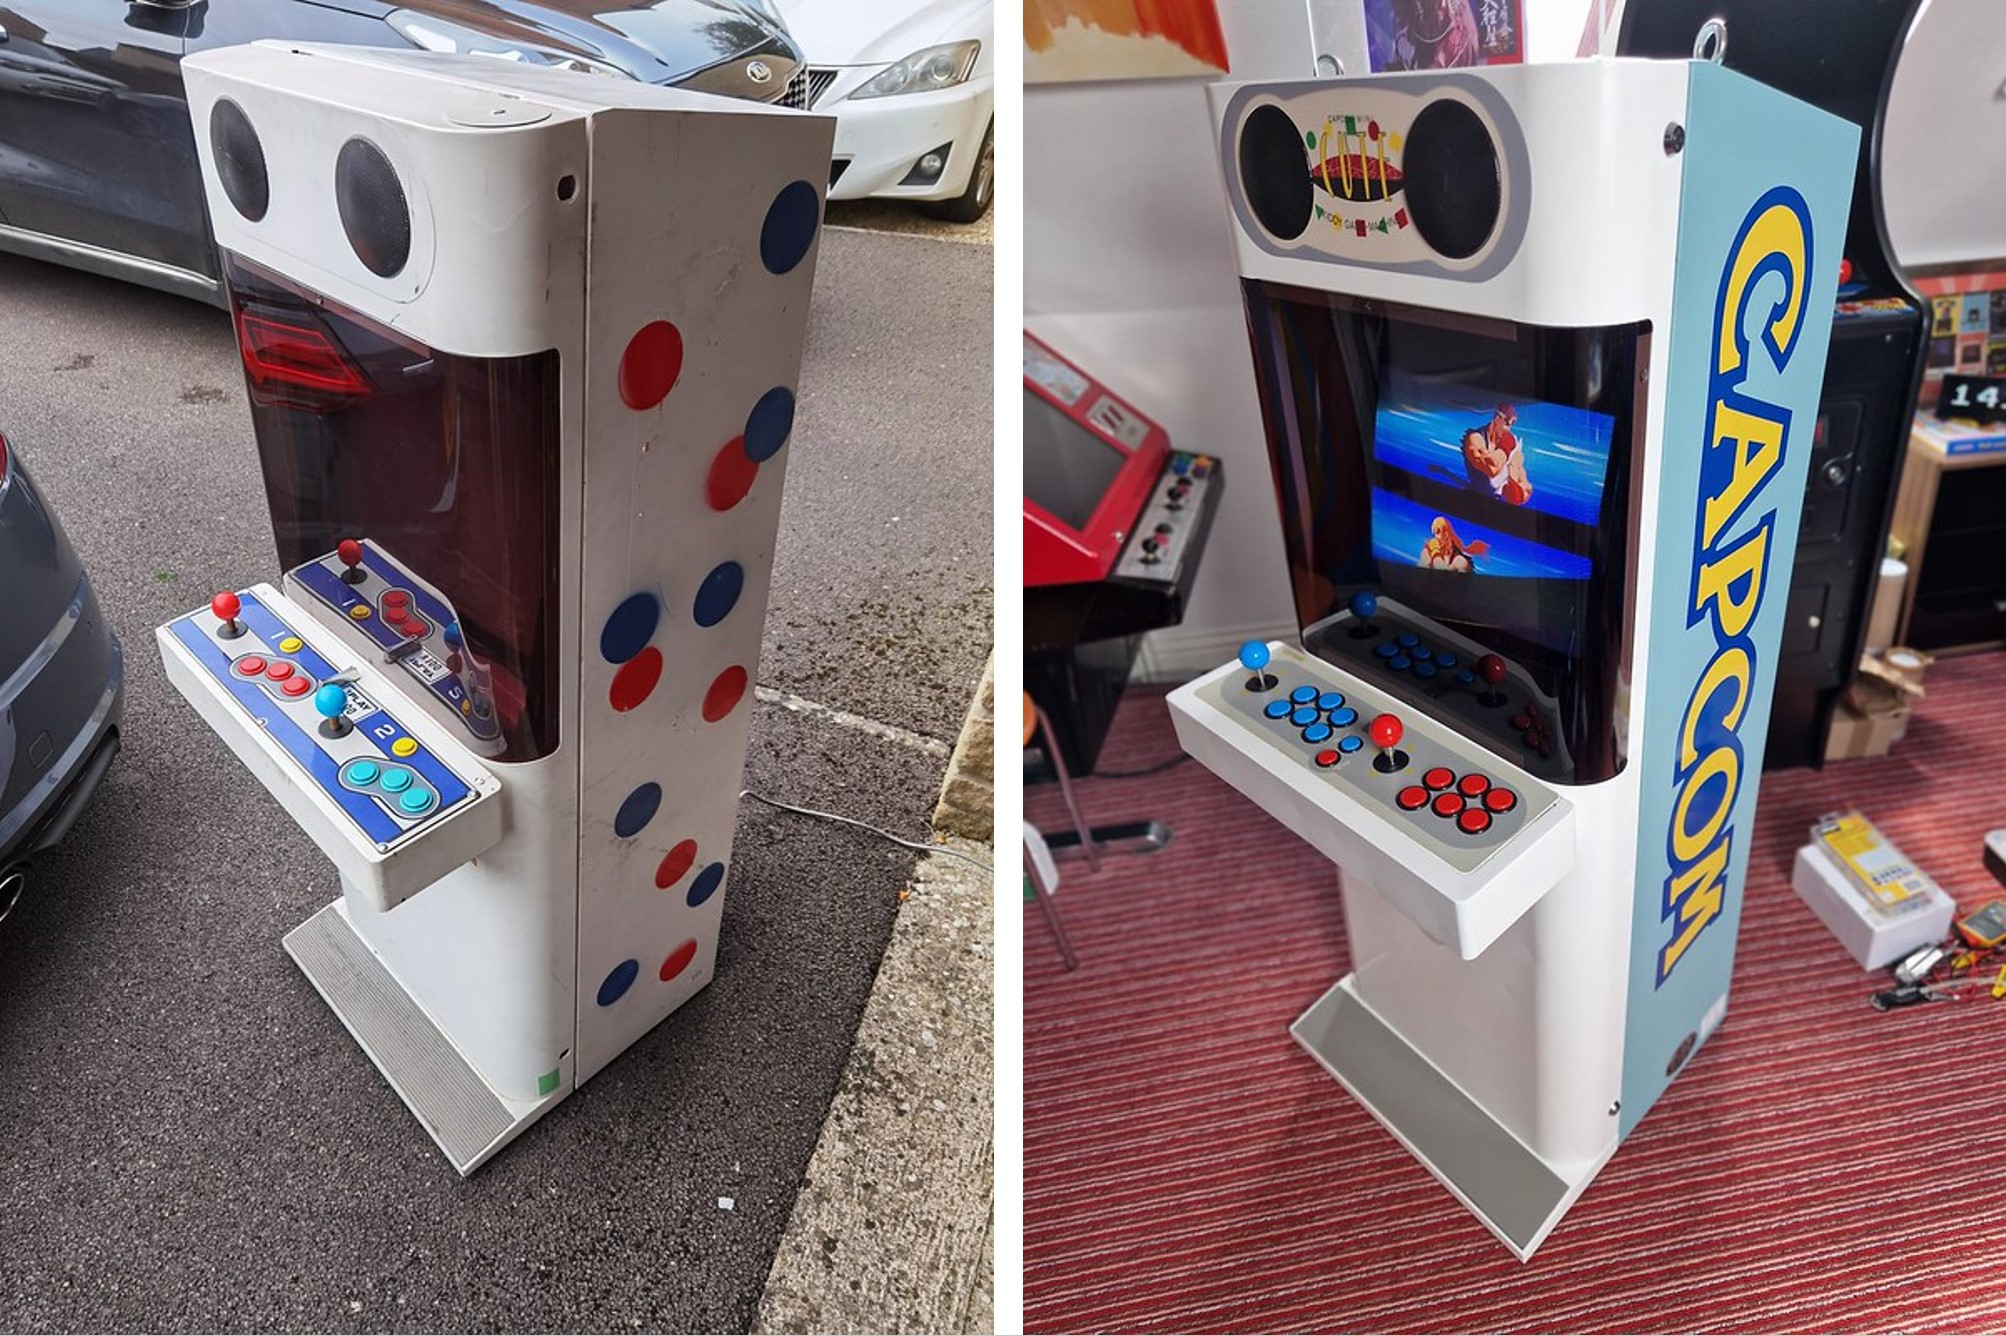
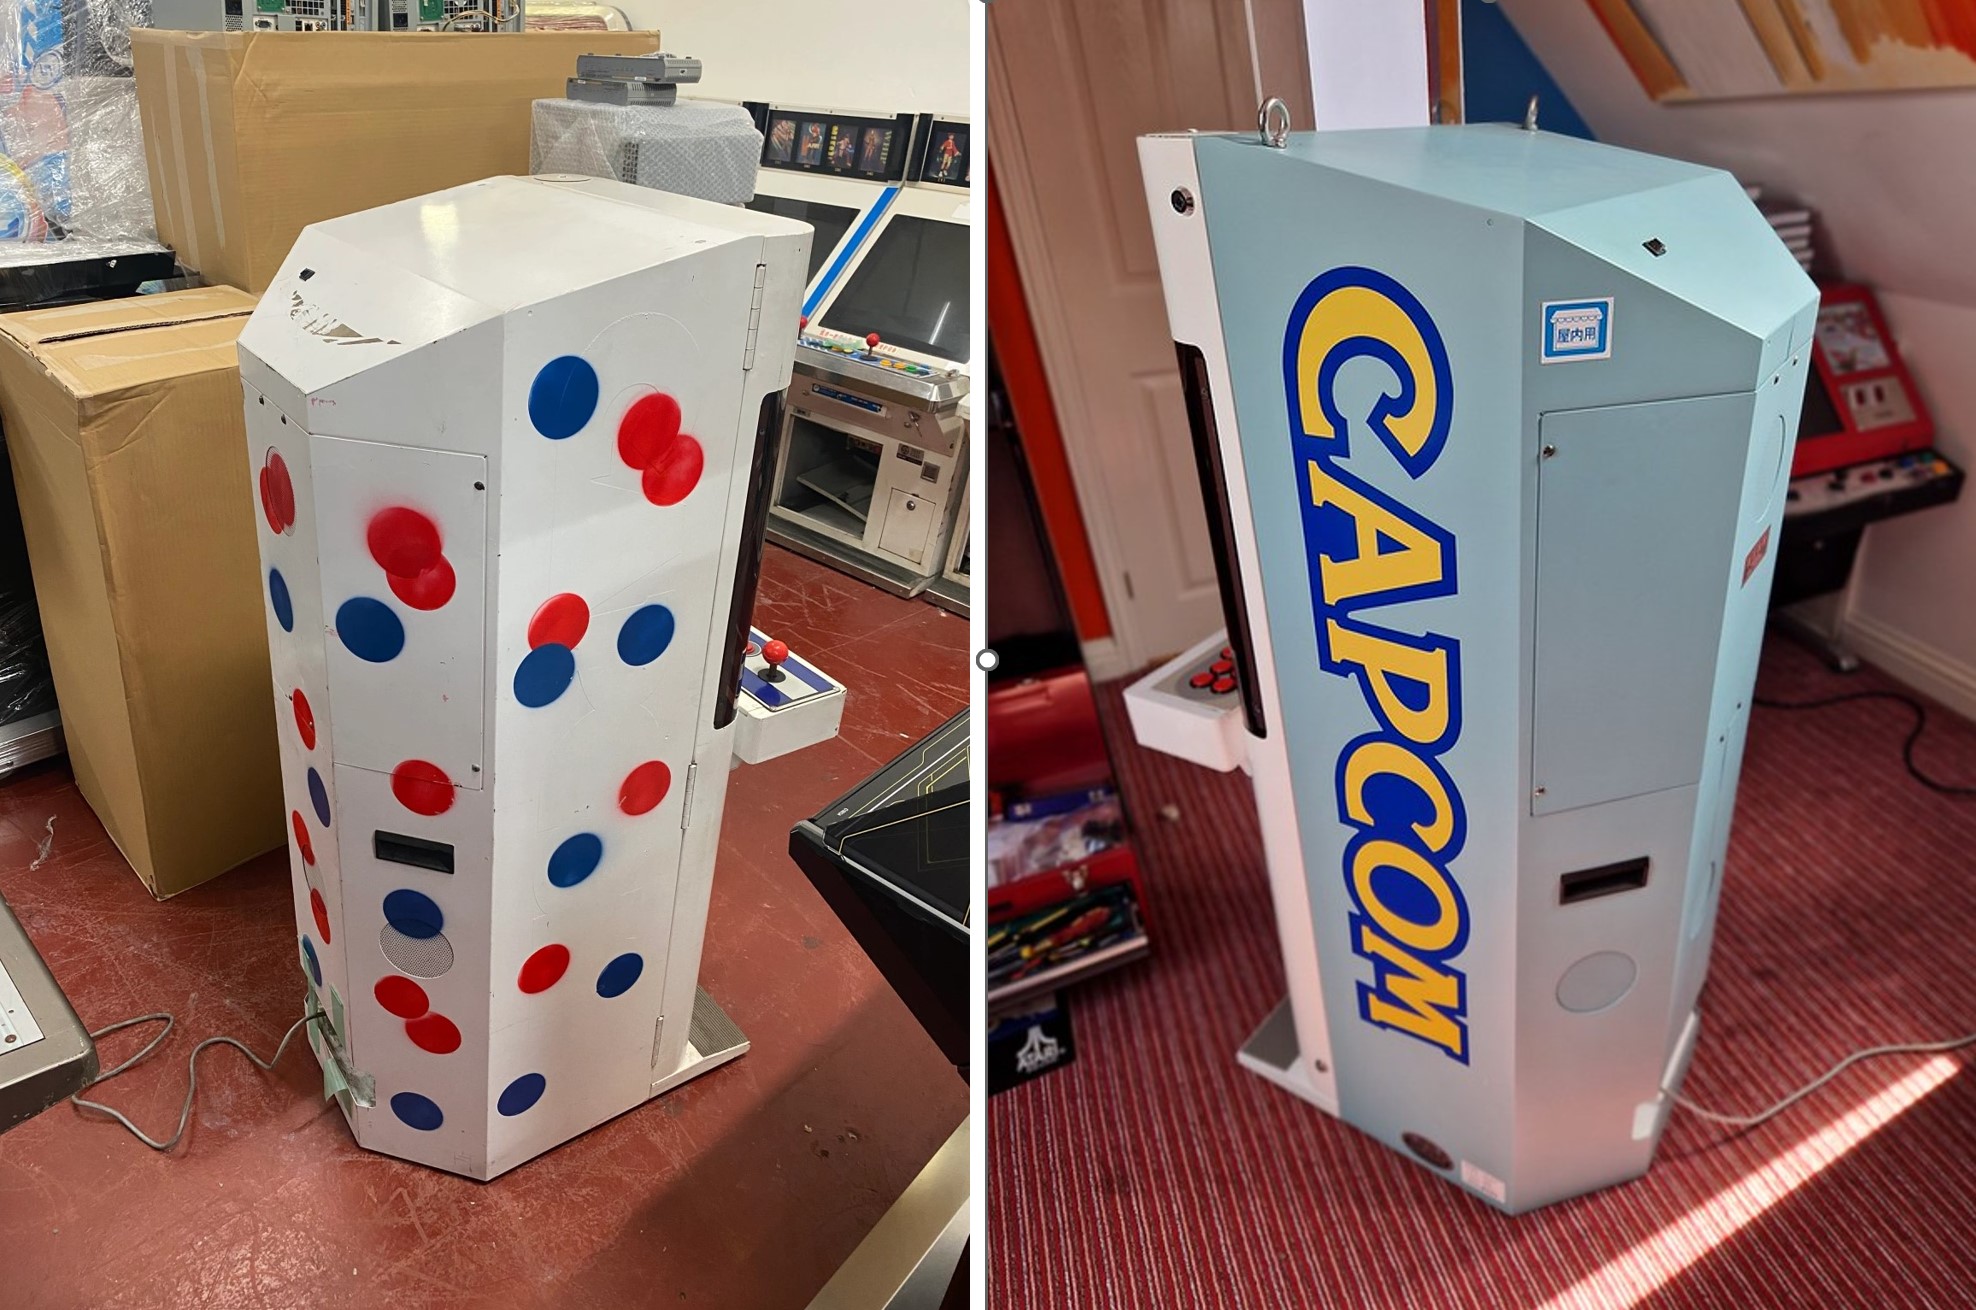
Capcom Mini Cute!
Thanks for studying this week and for following this restoration – learn the entire course of right here.
See you subsequent week for extra basic arcade musings!
Tony
[ad_2]