![How to improve to Windows 11, whether or not your PC is supported or not [Updated]](https://thefuntrove.com/wp-content/uploads/2021/10/DSC00361-760x380.jpeg "How to improve to Windows 11, whether or not your PC is supported or not [Updated]")
[ad_1]

Andrew Cunningham
We initially printed this set up information for Windows 11 shortly after the OS was launched in October 2021. To hold it present and as helpful as doable, we up to date it in August 2022 to cowl tweaks that Microsoft has made to the Windows installer for model 22H2, and a few new workarounds for unsupported programs.
Windows 11 has been out for almost a yr, and its first main replace will probably be launched sooner or later within the subsequent few weeks. Even if our unique evaluate did not persuade you to improve, you is perhaps enthusiastic about it now that it is extra established and a number of the greatest early bugs have been mounted.
We’ve pulled collectively all types of sources to create a complete set up information to upgrading to Windows 11. This contains recommendation and a few step-by-step directions for turning on formally required options like your TPM and Secure Boot, in addition to official and unofficial methods to skirt the system-requirement checks on “unsupported” PCs, as a result of Microsoft will not be your mother or father and subsequently can’t let you know what to do.
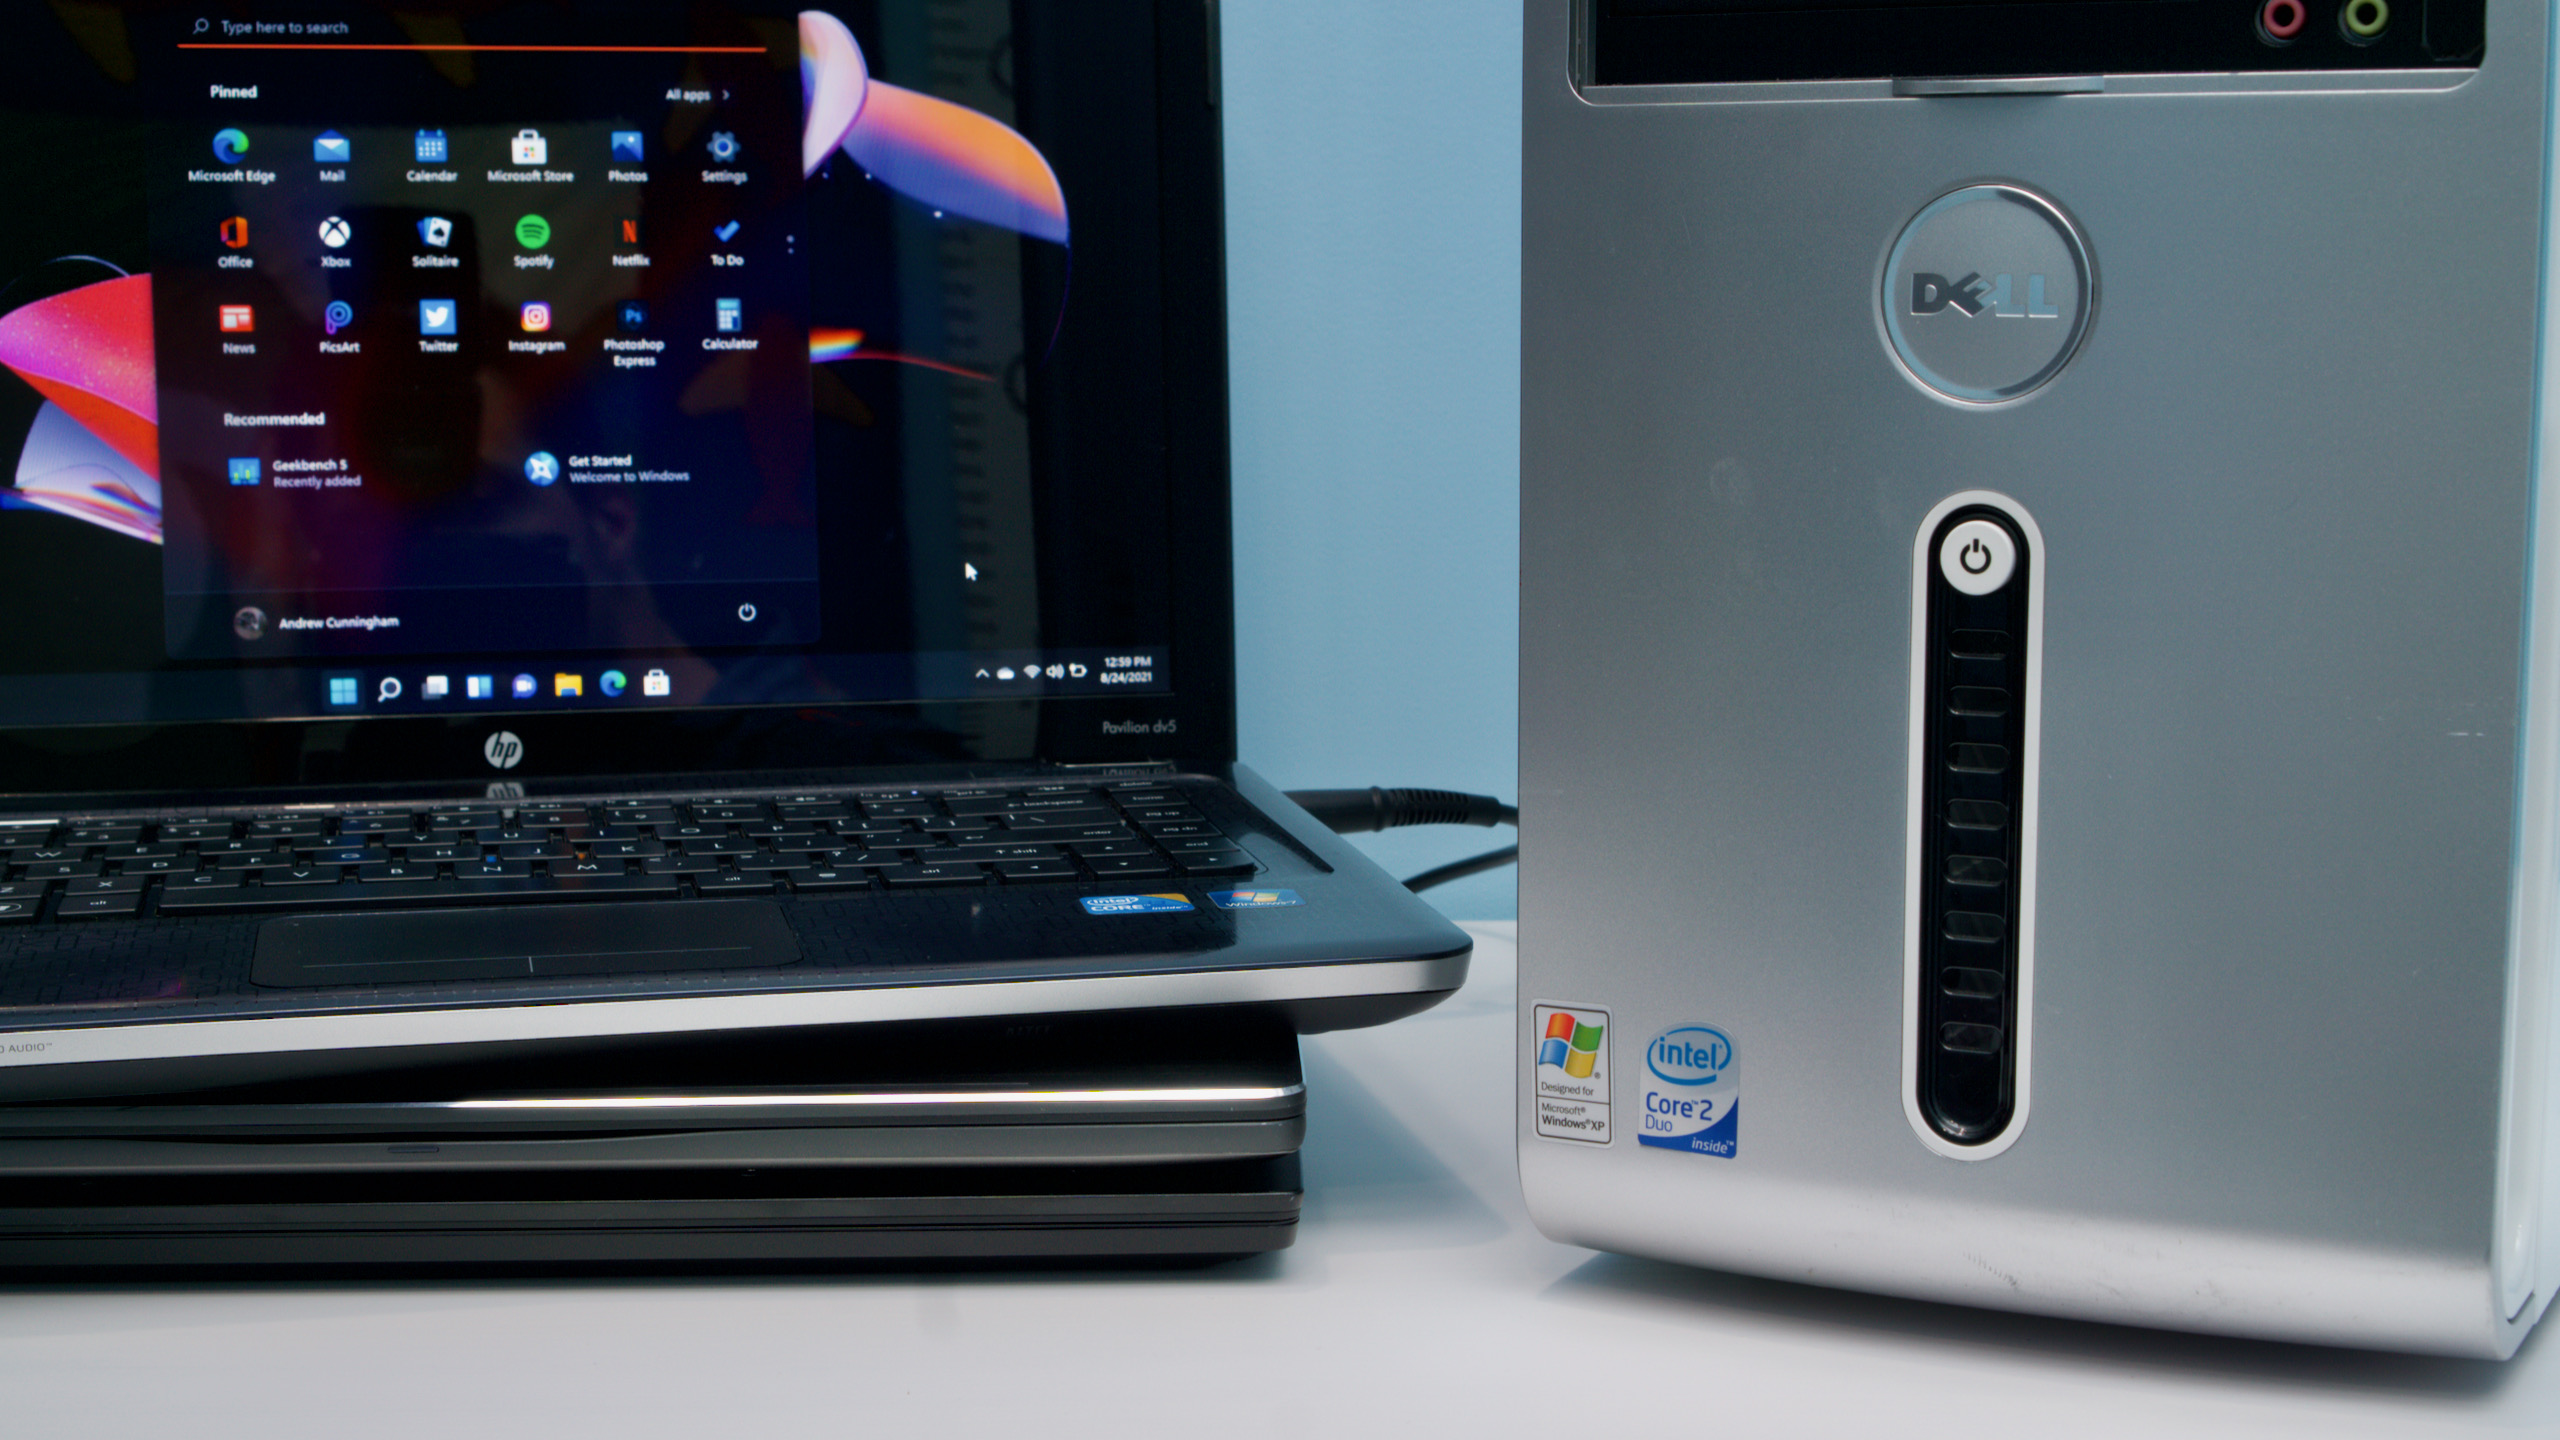
I’ve had Windows 11 working on PCs as outdated as a Dell Inspiron 530 from 2008, and whereas I’m not saying that is one thing you ought to do, it’s one thing that you just can do.
How do I get Windows 11?
The best technique to get Windows 11 is by checking Windows Update on a supported, totally up-to-date Windows 10 PC. But should you aren’t seeing it there, or you probably have numerous computer systems to improve and solely wish to obtain the brand new OS as soon as, there are different choices.
Microsoft affords a number of methods to obtain Windows 11 manually. One is to make use of the Installation Assistant app, which you put in in your PC to set off a standard improve set up through Windows Update. The second is to make use of the Windows 11 Media Creation Tool, which automates the method of making a bootable USB set up drive or downloading an set up ISO file. Once you could have a USB drive, you may both boot from it to carry out a clear set up or run the Setup app from inside Windows 10 to do a standard improve set up. You also can burn the ISO to a DVD, however putting in from any USB drive, even an outdated USB 2.0 drive, will probably be a lot sooner, so that you shouldn’t try this. Finally, you may simply obtain an ISO file straight from Microsoft’s website.
Do I have to pay for it?
Windows 11 is a free improve to Windows 10. So should you’re working Windows 10 Home or Pro in your PC, no matter whether or not your PC is formally supported or not, you’ll set up and activate the equal version of Windows 11.
If you are putting in Windows 11 on a brand new PC you have constructed your self, formally, you can purchase a Windows 10 or Windows 11 license. These will be bought from retail websites like Amazon, Newegg, Best Buy, or straight from Microsoft for between $120 and $140. Unofficially, you should purchase a working Windows product key from product key resale web sites for wherever from $15 to $40. Many of those websites are sketchy, and we can’t hyperlink to any of them straight, however it’s one choice for getting a working key.
Also, unofficially, I’ve had some success utilizing outdated Windows 7 and Windows 8 product keys to activate equal editions of Windows 11. It’s an open secret that the Windows 10 installer would proceed to just accept these older product keys lengthy after the “official” free Windows 10 improve provide expired in 2016, and not less than in our testing, these keys have continued to work for Windows 11.
What does my PC should be “supported”?
Let’s reiterate the Windows 11 system necessities:
- A “suitable” 1 GHz or sooner dual-core 64-bit processor from Intel, AMD, or Qualcomm
- 4GB of RAM
- 64GB of storage
- UEFI Secure Boot supported and enabled
- A Trusted Platform Module (TPM), model 2.0
- A DirectX 12-compatible GPU with a WDDM 2.0 driver
- A 720p show bigger than 9 inches in measurement
Windows 11 Home requires a Microsoft account and Internet connectivity; Windows 11 Pro can nonetheless be used with a neighborhood account in Windows 11 model 21H1, however within the 22H2 replace, the Pro model may also require a Microsoft account sign-in. There are workarounds for this that we’ll cowl later.
The processor requirement is essentially the most restrictive; supported processors embody Eighth-generation and newer Intel Core processors in addition to AMD Ryzen 2000-series processors and newer. These are all chips that launched in late 2017 and early 2018. Older computer systems can’t formally run Windows 11. This is an enormous departure from Windows 10, which made a degree of supporting just about something that would run Windows 7 or Windows 8.
We get extra into the reasoning behind these necessities (and whether or not they maintain water) in our evaluate. But the three large ones are the CPU requirement, the TPM requirement, and the Secure Boot requirement.
How can I inform if my PC is supported?
-
Windows Update can let you know whether or not your PC is supported, however the PC Health Check app will nonetheless get you essentially the most detailed data.
Andrew Cunningham -
The model of the message you may get in case your PC is supported.
Andrew Cunningham
When you open Windows Update in Windows 10, it would let you know whether or not your PC is supported or not. But the best technique to verify manually is with Microsoft’s PC Health Check app. Early variations of this app weren’t superb, however the present model will let you know whether or not your PC is suitable in addition to why it’s or isn’t suitable.
If you aren’t utilizing a supported processor, both plan to improve to a CPU that’s supported or skip forward to the part the place we discuss putting in Windows 11 on unsupported PCs.
If your processor is supported however you don’t meet the TPM or Secure Boot necessities, the excellent news is that except one thing could be very unsuitable along with your PC, they need to each be options you may allow in your PC’s BIOS.
How do I get into my PC’s BIOS?
Usually, you may enter your BIOS by urgent some key after turning in your PC however earlier than Windows begins besides. The key varies, however frequent ones embody the Delete key, F2 (for Dell programs), F1 (for Lenovo programs), or F10 (for HP programs).
The constant however extra roundabout method of opening your BIOS is to go to the Windows Settings app, then Windows Update, then Recovery, after which Restart Now beneath “Advanced startup.” In the essential blue display you see subsequent, click on Troubleshoot, then Advanced choices, then UEFI Firmware Settings.
How do I allow my TPM?
Enabling your processor’s built-in firmware TPM is straightforward, however discovering the setting to do it typically isn’t. If you’re uncertain what you’re doing, strive trying to find “[manufacturer of your computer or motherboard] enable TPM,” as a result of many producers have created assist pages particularly due to Windows 11.
For Intel programs, should you can’t discover a setting marked “TPM” someplace within the chipset or safety settings, search for “Platform Trust Technology” or “PTT” and allow that. AMD programs normally simply discuss with it as an “fTPM,” although you might also see it referred to as the “Platform Security Processor,” or “PSP.”
Once you’ve enabled your TPM, reboot into Windows and take a look at the Device Manager or use the Health Check app to make sure it’s working correctly.
How do I allow Secure Boot?
Any pc made since Windows 8 was launched in 2012 must assist Secure Boot, which helps forestall unsigned and probably malicious software program from being loaded throughout your PC’s boot course of. You ought to be capable to flip it on in your PC’s BIOS if it isn’t already enabled, normally both in a “Security” or “Boot” part. As with enabling your TPM, should you can’t discover the setting, verify your PC’s or motherboard’s guide.
If your pc received’t boot after you allow Secure Boot, don’t fear—you simply have to undergo a few extra steps. Failure besides is almost certainly as a result of your onerous drive or SSD is about up with an MBR (or Master Boot Record) partition desk slightly than the newer GPT (GUID Partition Table) format that Secure Boot and UEFI each require.
To verify, right-click the Start button or use the Windows + X keyboard shortcut after which click on Disk Management within the menu that pops up. Right-click no matter drive that Windows is put in on (in most computer systems, it is going to be Disk 0, however not all the time you probably have a number of onerous drives), then click on Properties, then verify the Volumes tab. If your partition type is listed as MBR, that is whenever you’ll have to convert the drive.
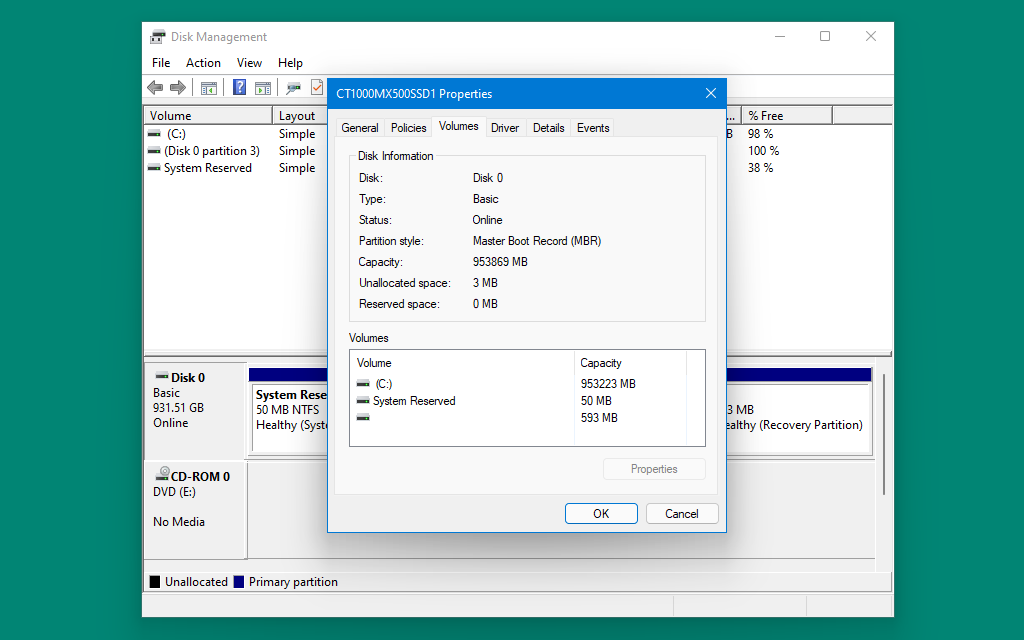
If your drive makes use of the older MBR partition type, you will have to transform it to GPT earlier than you may allow Secure Boot.
Andrew Cunningham
To convert from MBR to GPT in Windows 10:
- Open Settings, then Windows Update, then Recovery, and click on “Restart now” beneath “Advanced startup.”
- When your PC reboots, click on the Troubleshoot button, then Advanced choices, then Command Prompt.
- In the Command Prompt window, sort
mbr2gpt /validateto verify to verify the drive will be transformed. Then, sortmbr2gpt /convertto transform the drive. - When it is completed, re-enable Secure Boot in your BIOS, and your PC ought to boot usually.
If this conversion fails for some cause, the best choice could also be to do a clear reinstall of Windows 10 or 11 with Secure Boot enabled. When you format the drive and set up Windows from a bootable USB stick, it should use GPT as a substitute of MBR.
[ad_2]