
[ad_1]
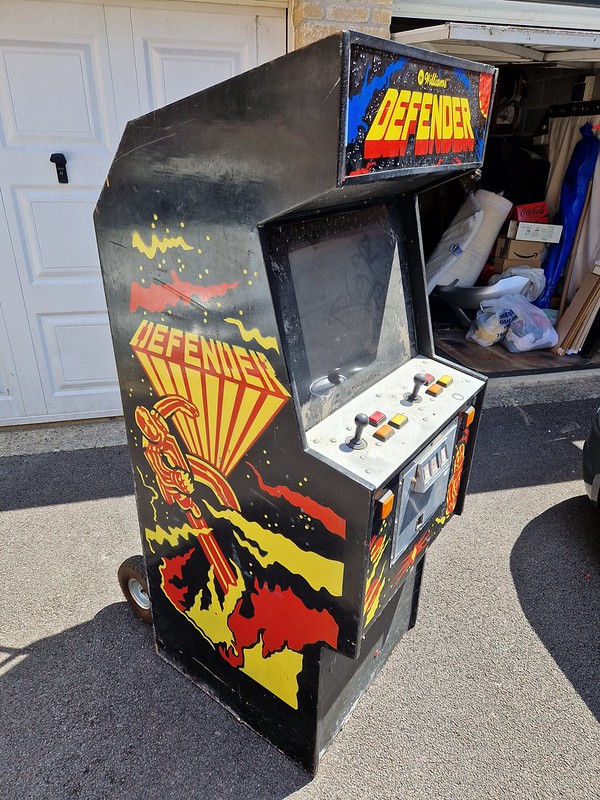
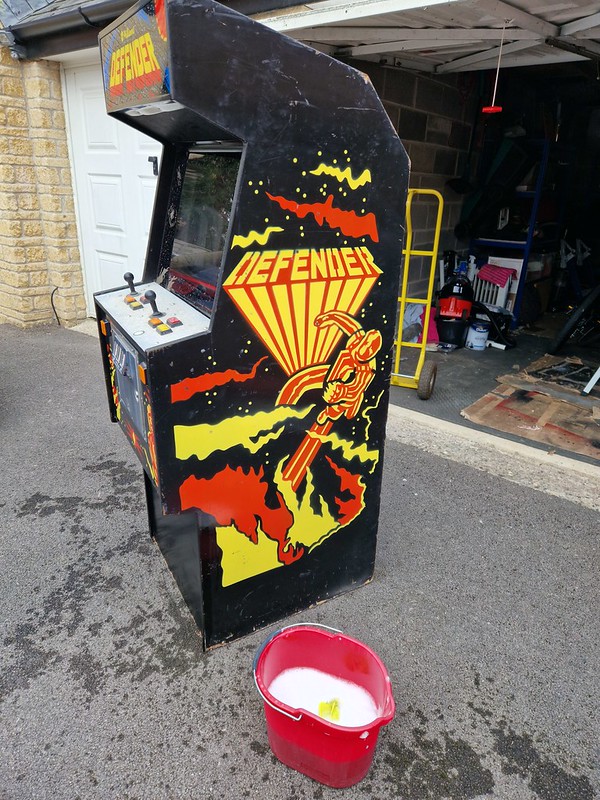
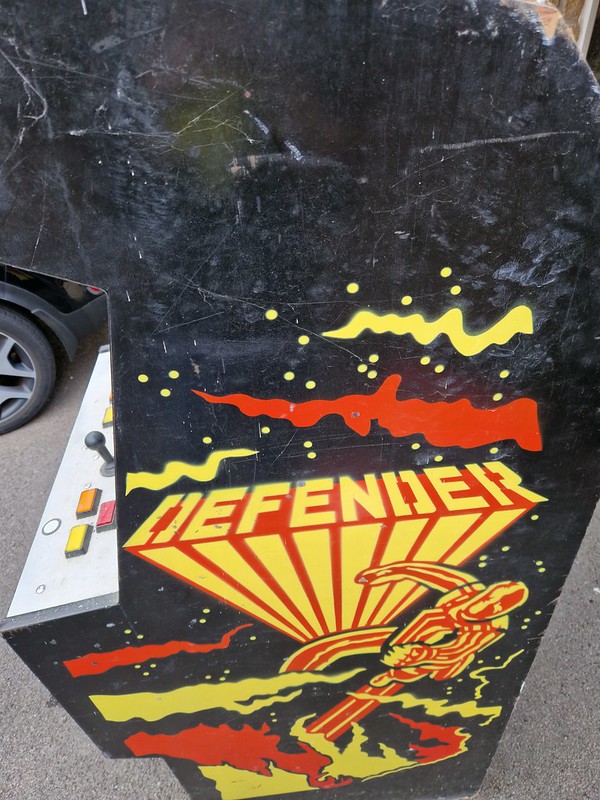
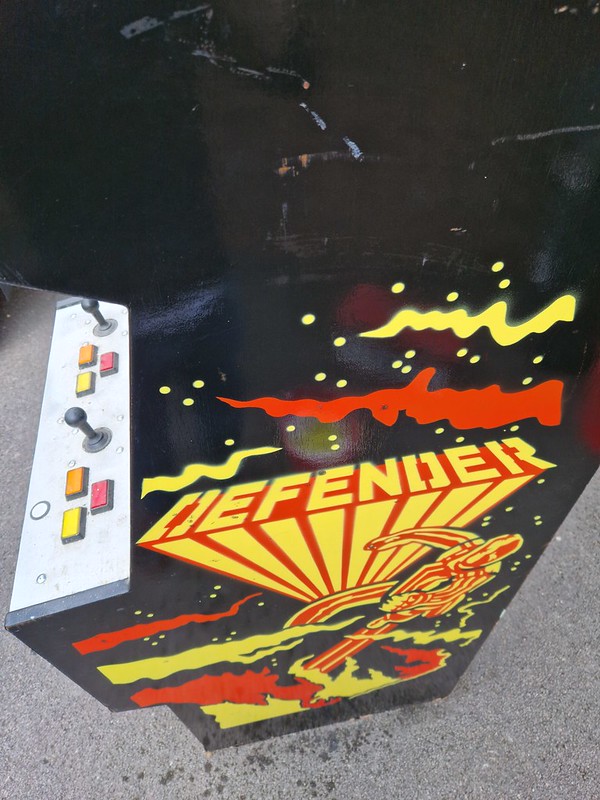
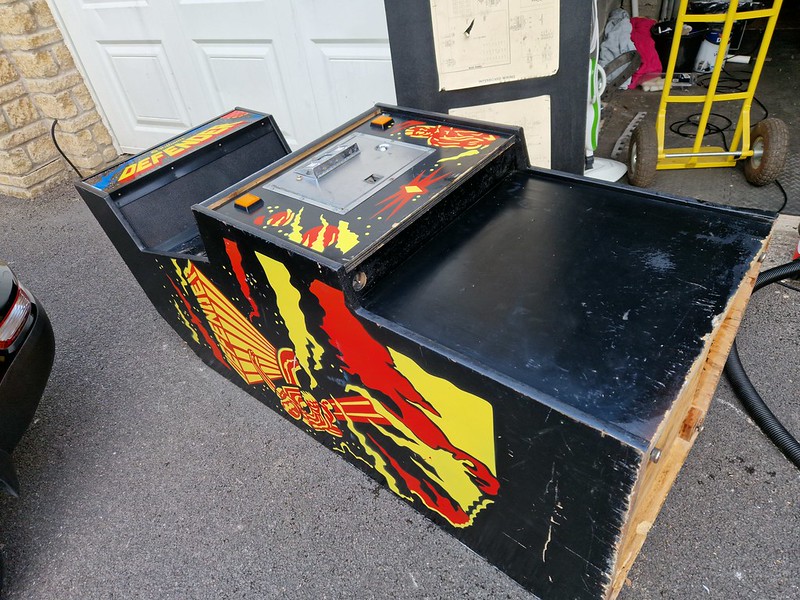
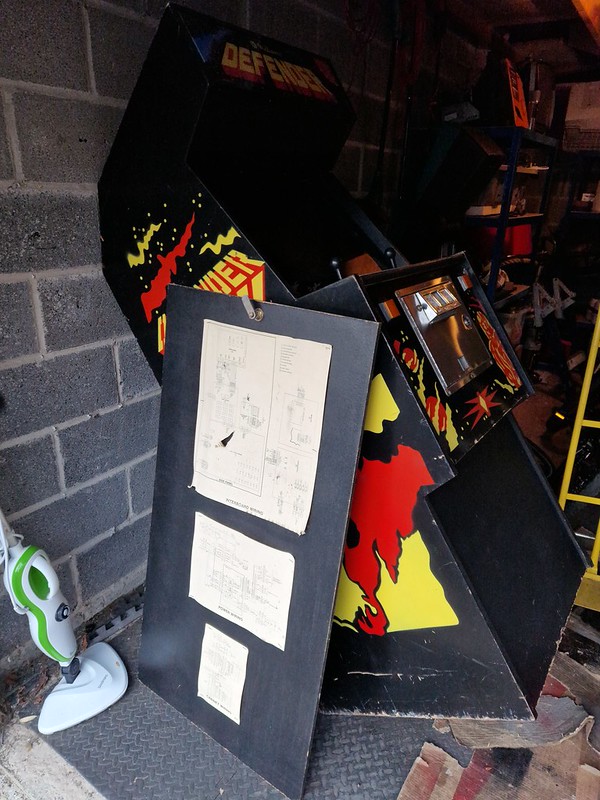
So, with some respectable climate round these elements over the previous couple of weeks, I assumed I’d make a begin with the restoration of the Defender upright that I picked up. Catch up on the small print right here.
Our start line isn’t precisely nice, however there’s sufficient right here that’s full to get this factor again into form and playable as a Defender once more.
I figured the very first thing to do was to provide the cupboard an excellent clear out. The plan is to get it in stable form able to repopulate with new {hardware}. So let’s get going.
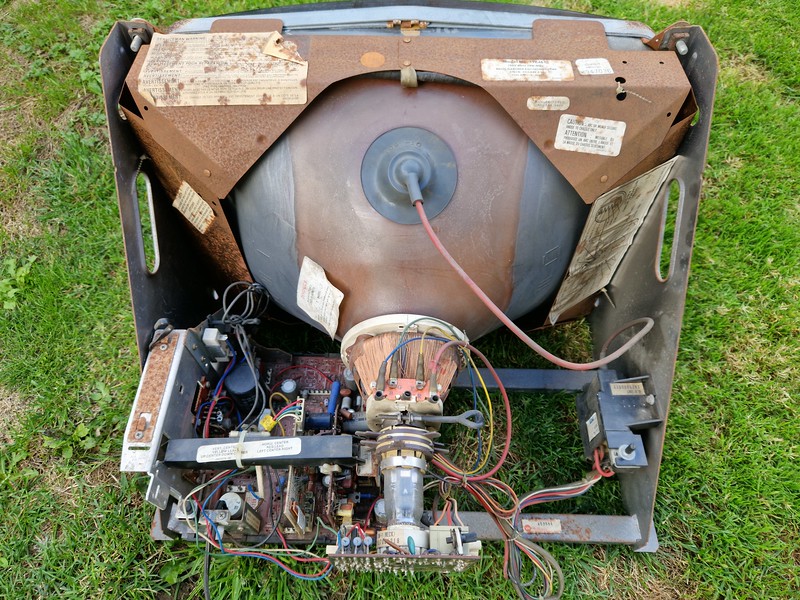
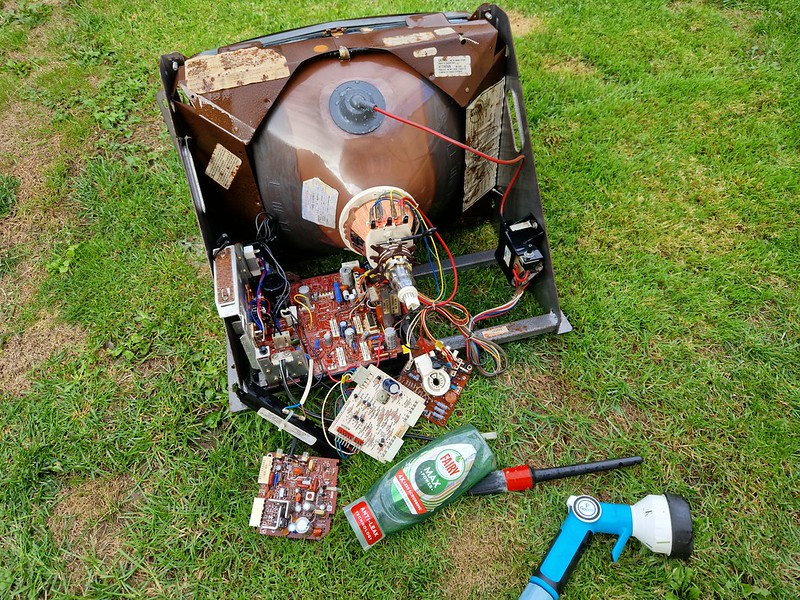
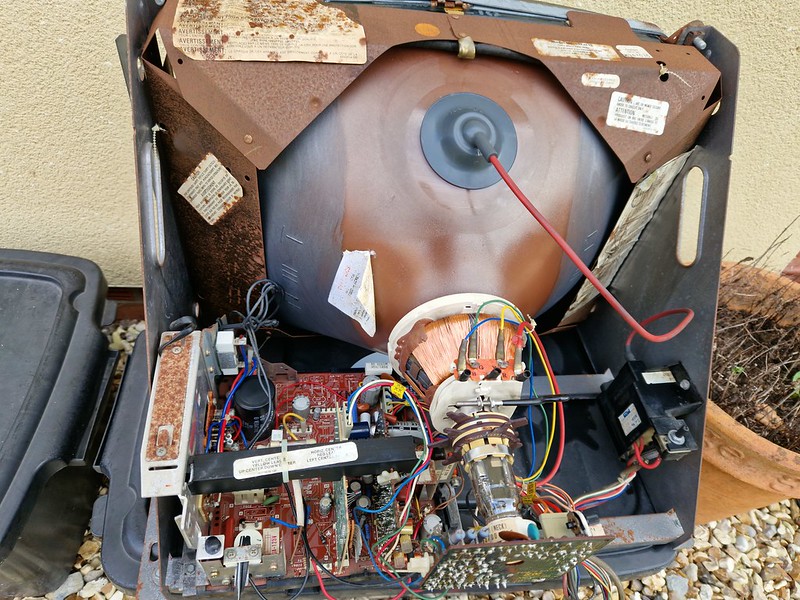
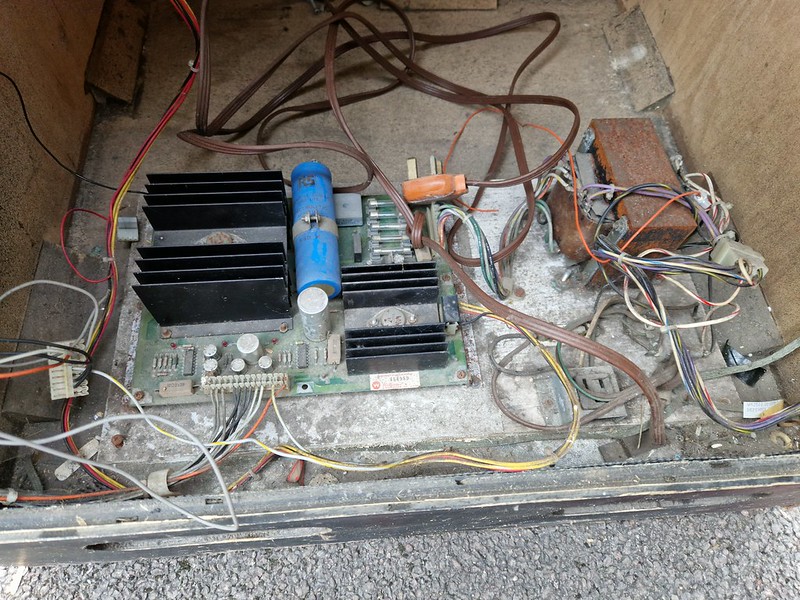
The cupboard got here with a WG4600 monitor. Original from manufacturing facility, these are hardy screens from every part I’ve learn, and usually to get one going once more doesn’t take an excessive amount of work. This one was notably filthy having been sat on this cupboard because the early 80s, and I had no concept if it labored. The first job was to wash it up:
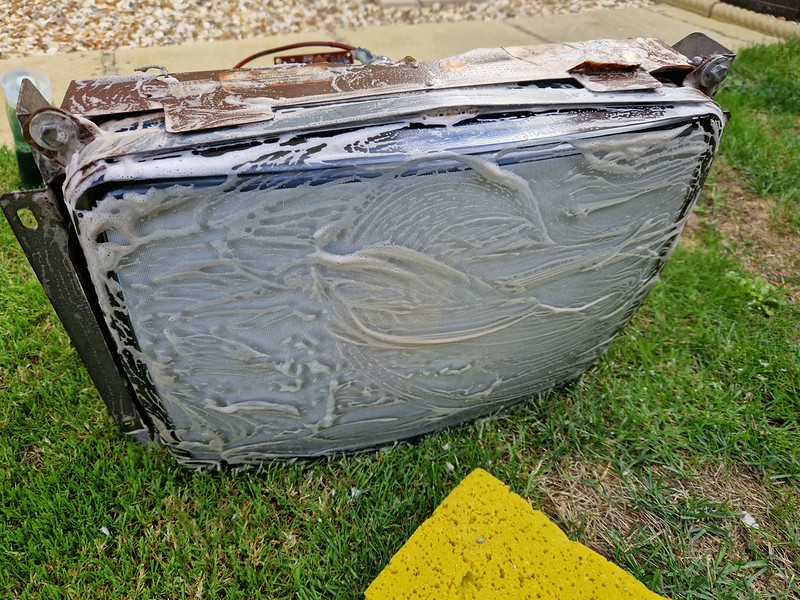
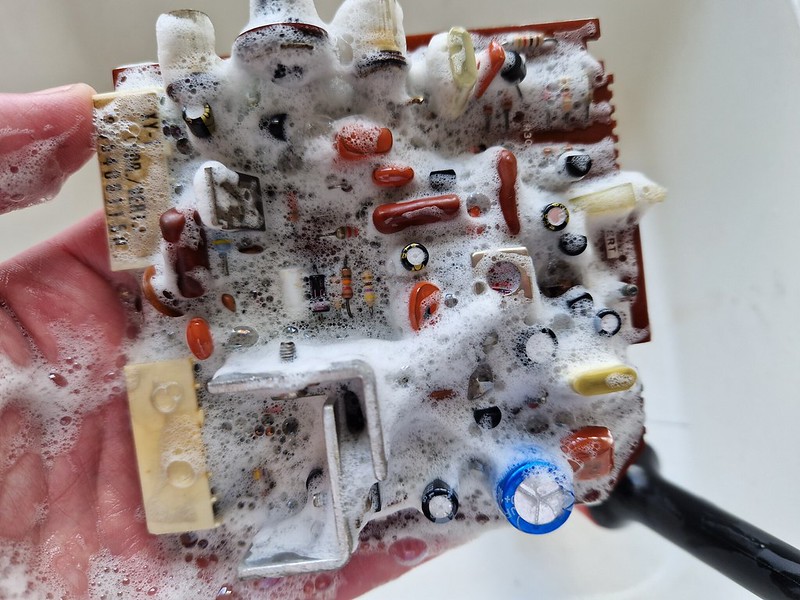
Now there are numerous methods of cleansing up an outdated monitor. I are inclined to go at it with brute pressure.
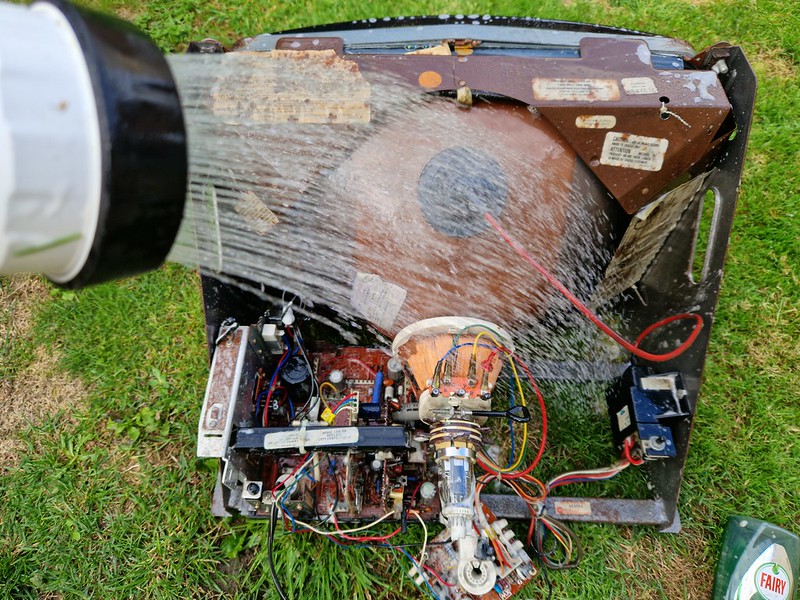
I do know, I do know! We can debate the deserves or in any other case of doing this however having “washed” varied screens through the years, I’ve discovered this technique to be efficient and protected. Clearly, you wish to make certain the monitor is absolutely discharged earlier than throwing any water at it, and guarantee every part is absolutely dried out earlier than making use of energy!
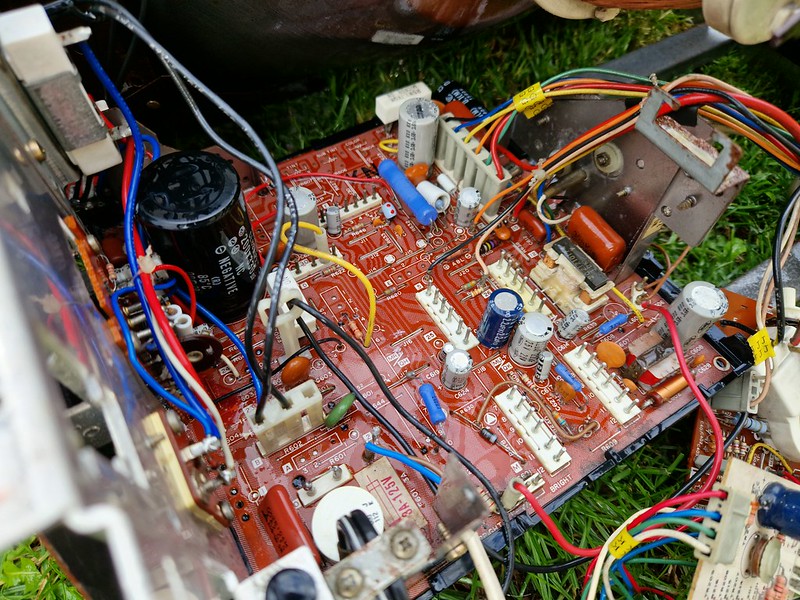
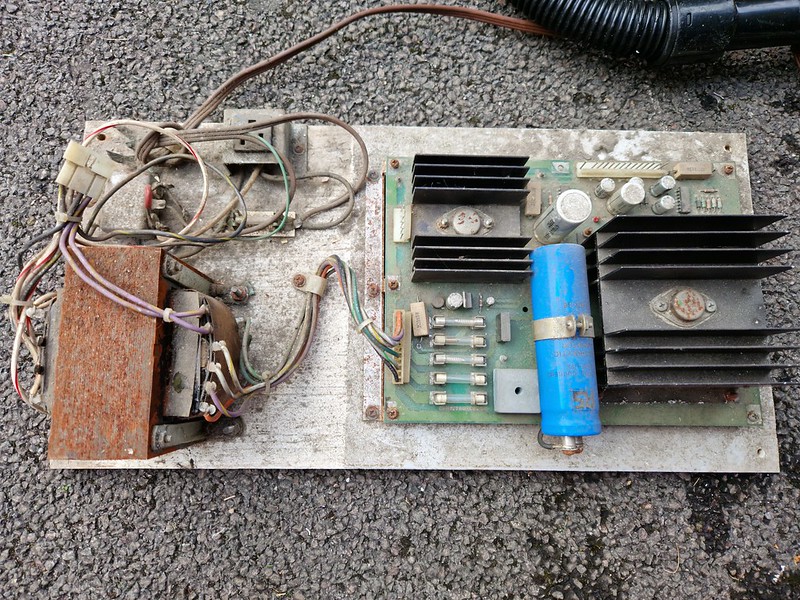
After letting the monitor absolutely dry out in a heat place for a few days, it was time to try it. I labored on a number of areas:
- Reflowed all of the header pins on the distant boards after discovering some hairline cracks
- Resoldered the ability cable – observed it was indifferent
- Checked fuses and continuity to the neck board
- Made a brand new aqua dag grounding strap – the one it got here with was rusted and had snapped off!
With that finished I plugged it into my Centipede cupboard and received an image!

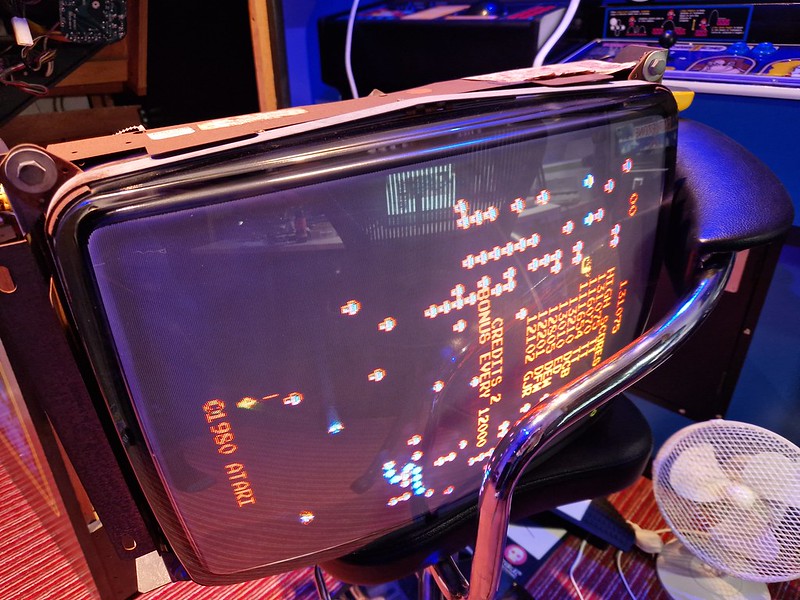
Having a working monitor with out requiring main repairs is a large bonus – more than happy with that.
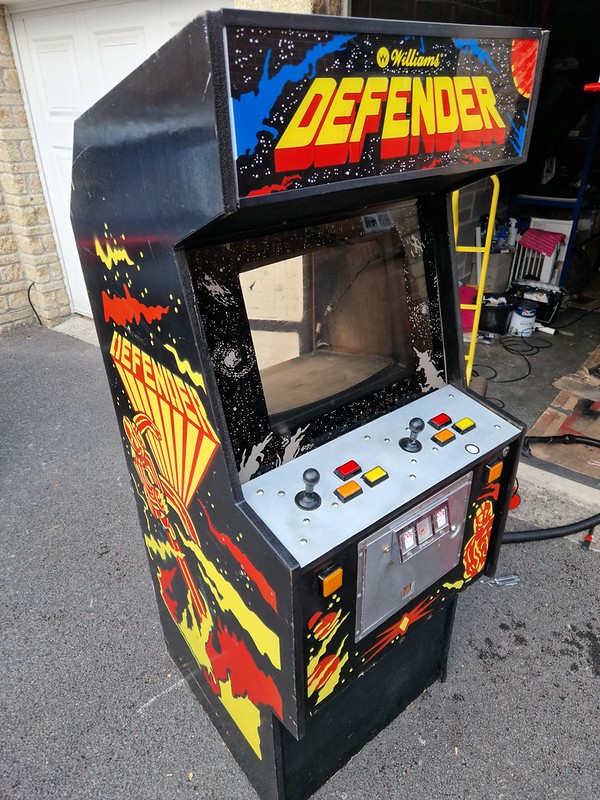
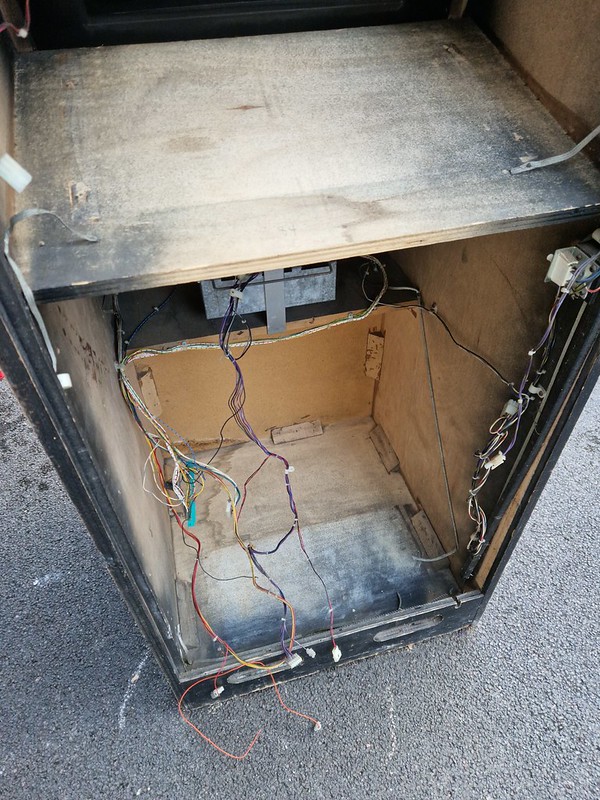
Let’s get again out to the storage to sort out the cupboard:
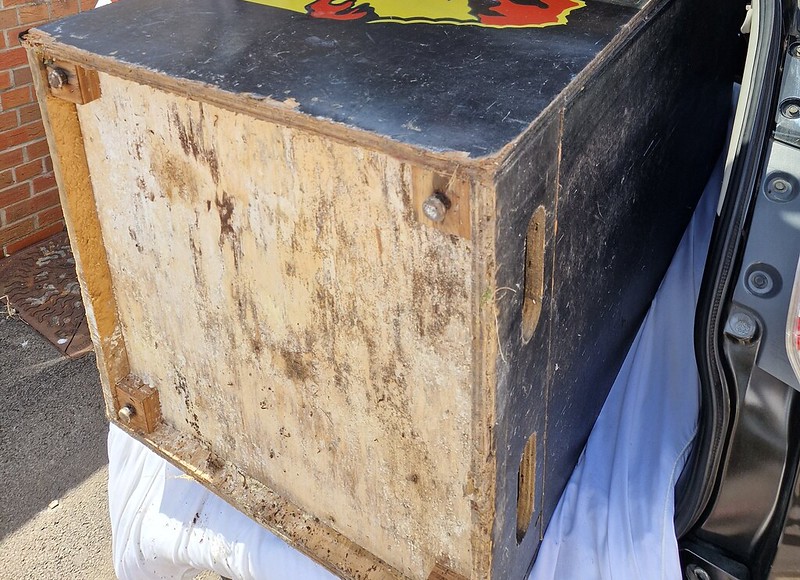
Finished outcome:
Interior subsequent.
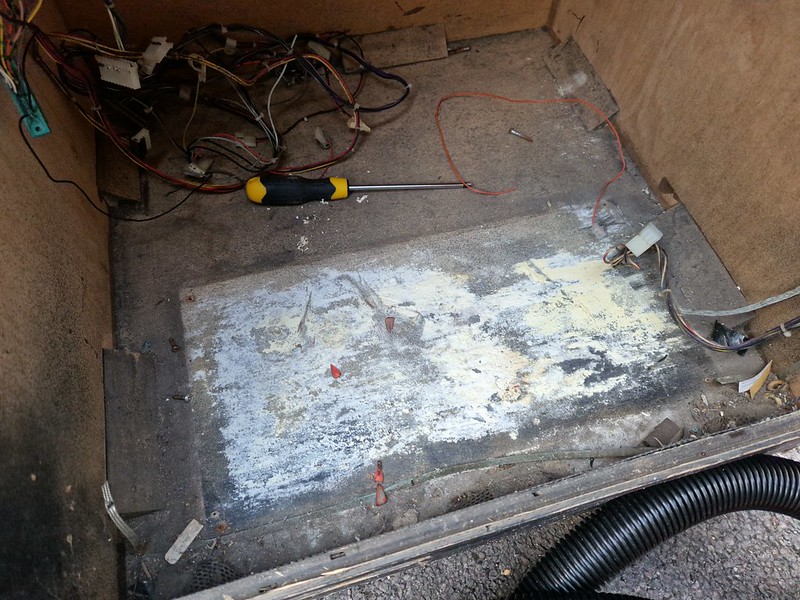

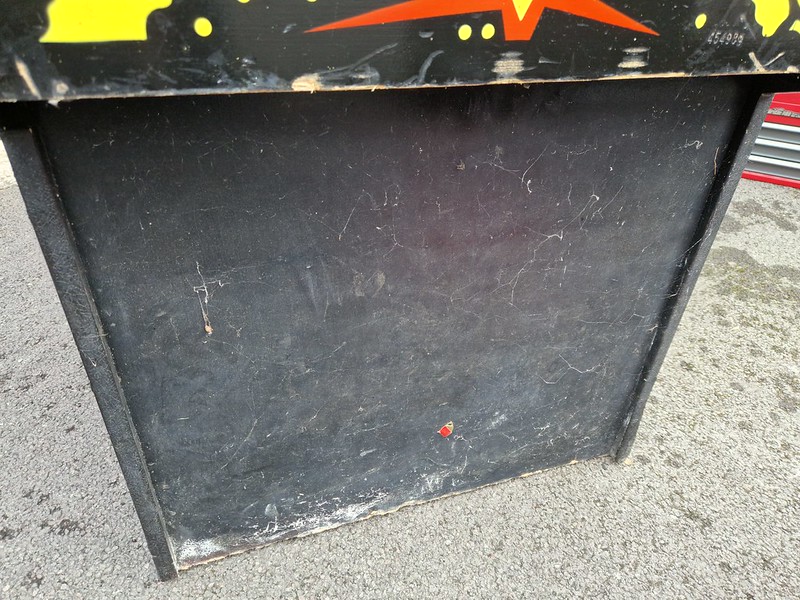
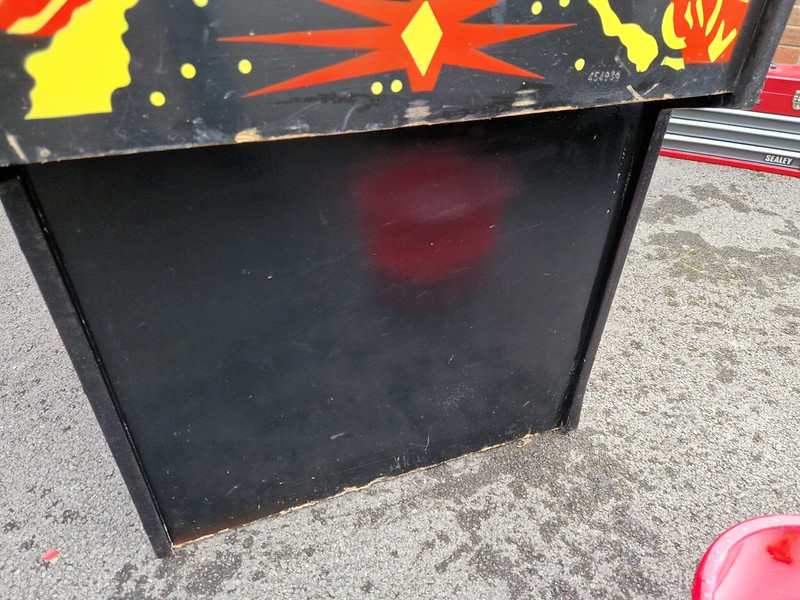
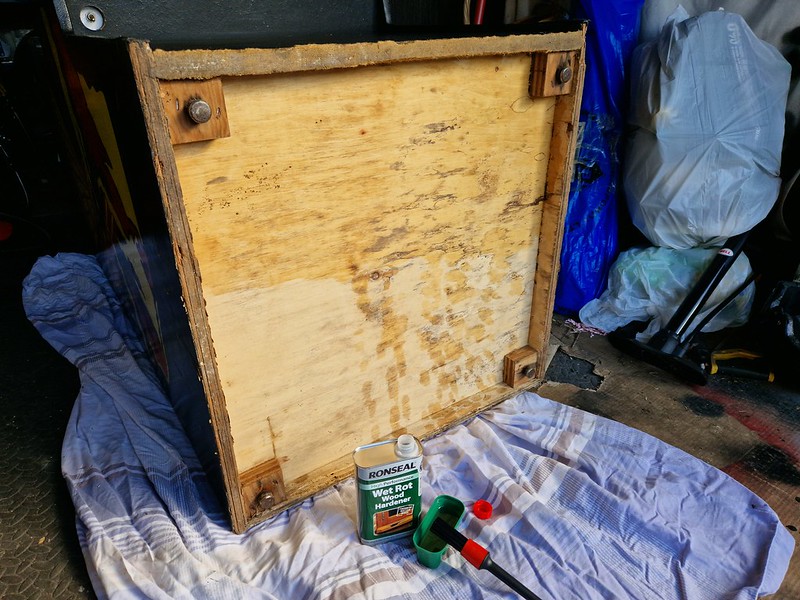
The base of the cupboard wasn’t good in any respect:
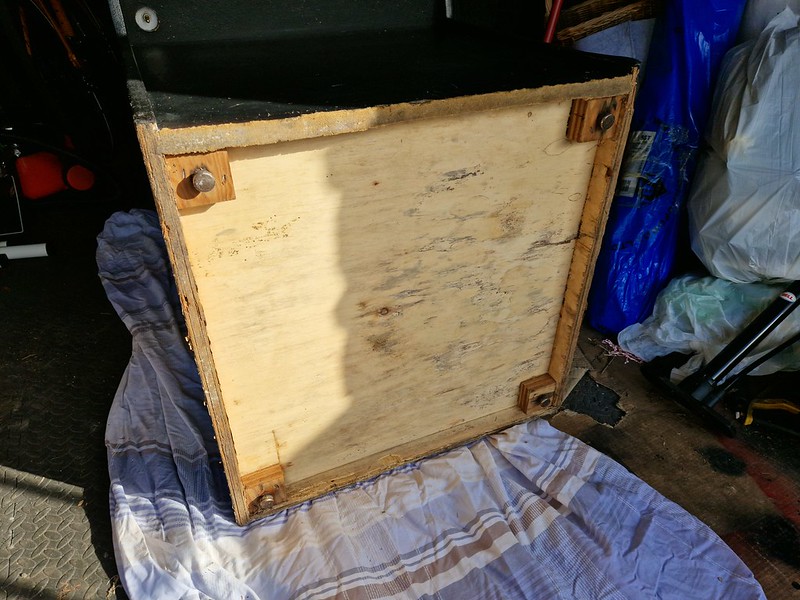
So there you go. We’re in good condition with the Defender thus far. I’m treating this job as a lightweight restore, as I’ve no plans to hold onto it.
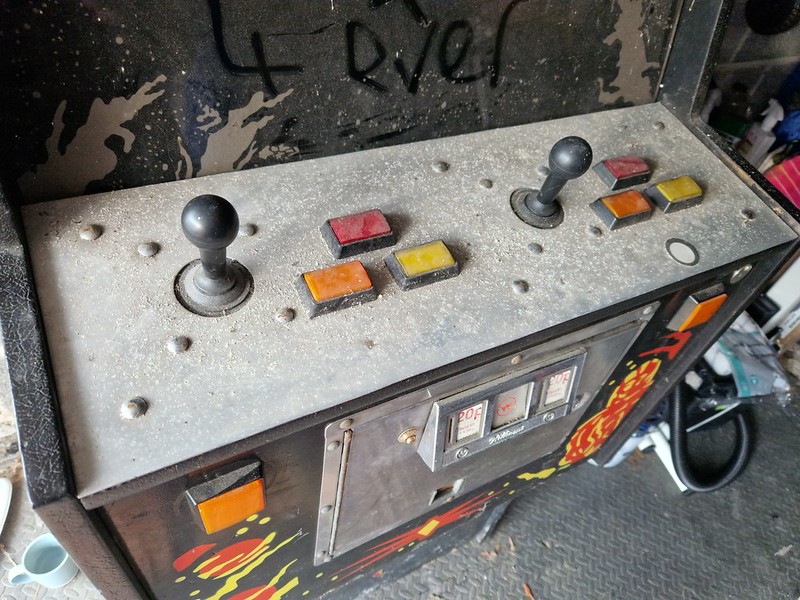
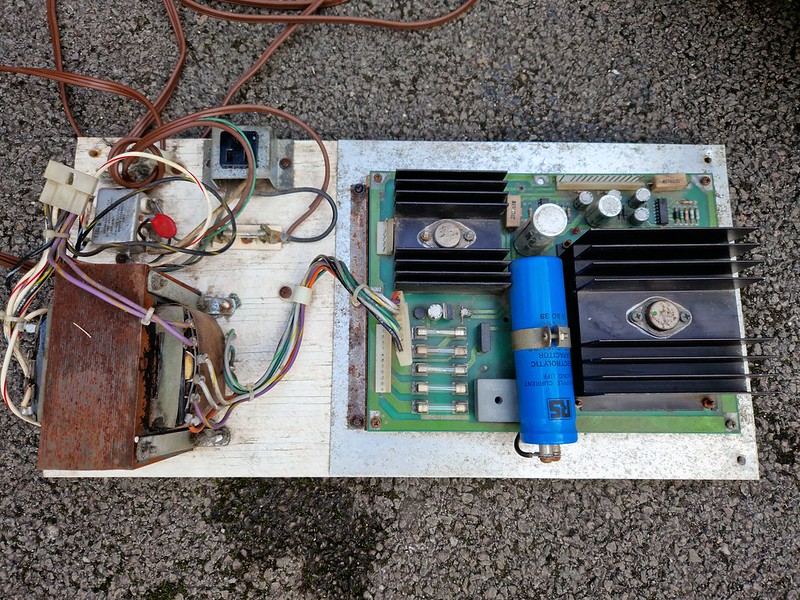
While that is drying out over the subsequent few days, I’m on the hunt for a alternative management panel, and might be digging out a Jamma loom, Williams JROK board and new energy provide.
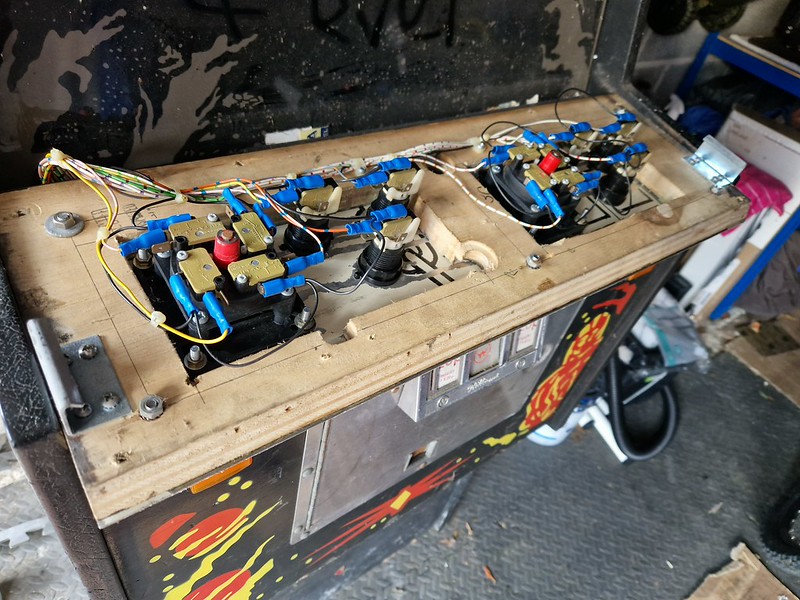
Next steps might be eradicating what’s left of the unique wiring loom, getting among the random paint that has discovered its approach on the perimeters of the cupboard, then sanding out the within naked wooden to neaten it up.
Then we needs to be prepared to put in new {hardware} and hopefully get it operating Defender once more!
More updates within the coming weeks, so keep tuned.
Thanks as all the time for checking in!
Tony
[ad_2]