
[ad_1]

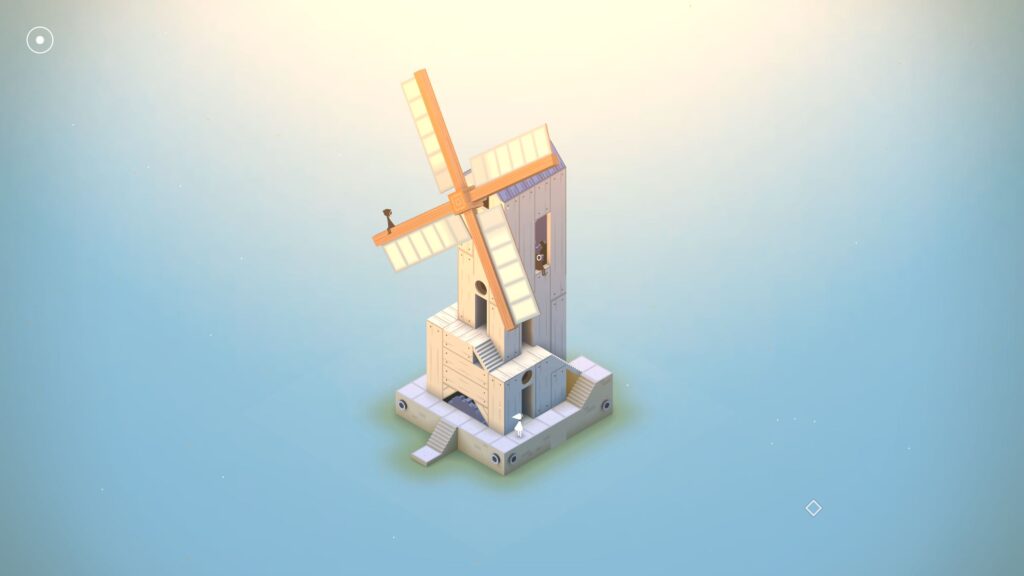
Stuck in Monument Valley? Here’s learn how to full the second and third areas of Ida’s Dream, and learn how to entry it within the Windmill Hub.
Monument Valley Walkthrough Table of Contents
- Chapters 1 & 2
- Chapter 3
- Chapter 4
- Chapter 5
- Chapter 6
- Chapter 7
- Chapter 8
- Chapter 9
- Chapter 10
- Green Area
- Blue Area
- Purple Area
- Ida’s Dream
- First Area
- Second and Third Areas
- Fourth Area
- Fifth Area
Welcome to the Into Indie Games information for Monument Valley! This information was made with the Panoramic Edition in thoughts, nevertheless it ought to be legitimate for all variations of the sport.
For extra data on Monument Valley, try the official web site right here.
Hub, 2
From the First Area, rotate 180 levels to find the subsequent door on the lowermost ground. Enter it.
Second Area
After coming into this space, undergo the one door that’s open to you, on the finish of the trail you’re on.
Upon rising from the subsequent door, seize the blue block with the round handles within the lower-right of the construction.

Drag the block as far left as it may go. This grants Ida a path to the door that’s positioned immediately above her. Go over there now.
After rising from the lowermost door, seize the rotation handles beneath the construction and twist them 90 levels clockwise. Head onto to the button on the central pillar.

With the button pressed down, transfer the blue block to the lower-right additional to the appropriate, in order that Ida has a path to the rightmost door. Once extra, undergo the primary door that you just entered on this space, and twist the rotation handles 180 levels.
You now have a transparent path out, so head via the ultimate door to finish this stage.
Hub, 3
The third space door is positioned proper above the second space door, so head on in there.
Third Area
This one is a bit totally different.
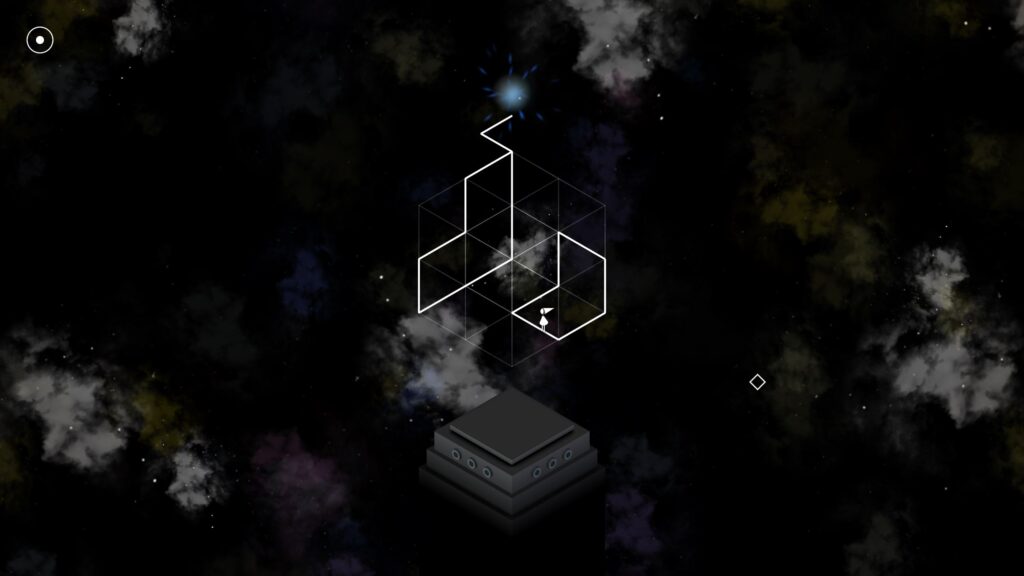
Grab the rotation handles beneath and switch 90 levels clockwise, then transfer Ida to the appropriate, however in the course of the L-block-like form.
Rotate 180 levels and transfer as far left as you may go on high of the L-block-like form.
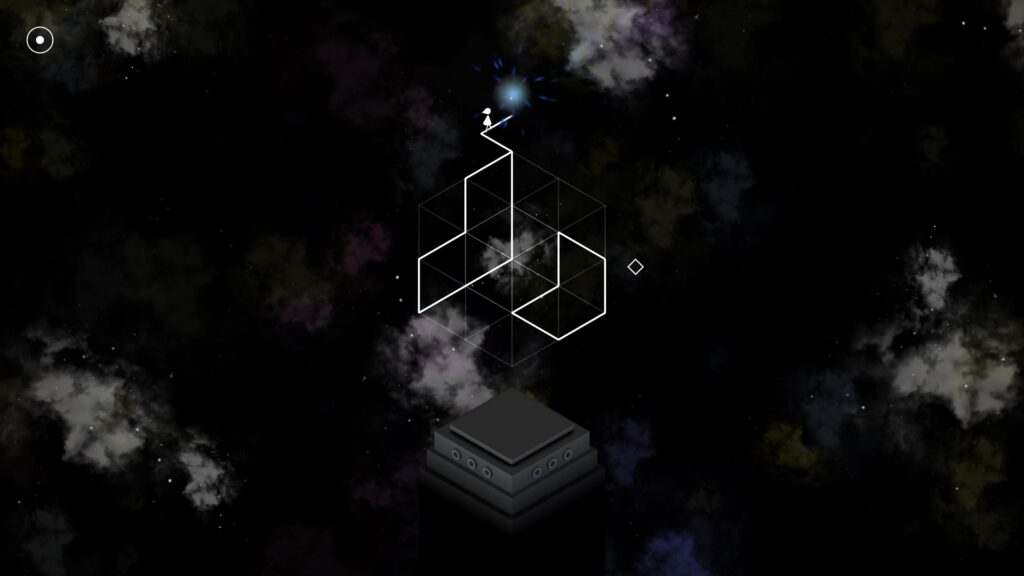
Rotate clockwise and head on to the shining mild!
Head on to the subsequent a part of our Monument Valley walkthrough right here!

[ad_2]